Want to know how your contacts engage with your content? An advisable method is to track your emails. This way, you will get insights for how your customers engage with them. And even if they are not engaging, it allows you to reach out to them using different channels.
Not just this, you will further know what their preferences are and how you can modify the content to best suit their needs. You can ensure that your lists are healthy and pique the deliverability rate.
Furthermore, we advise importing email builder tags and tokens for email personalization.
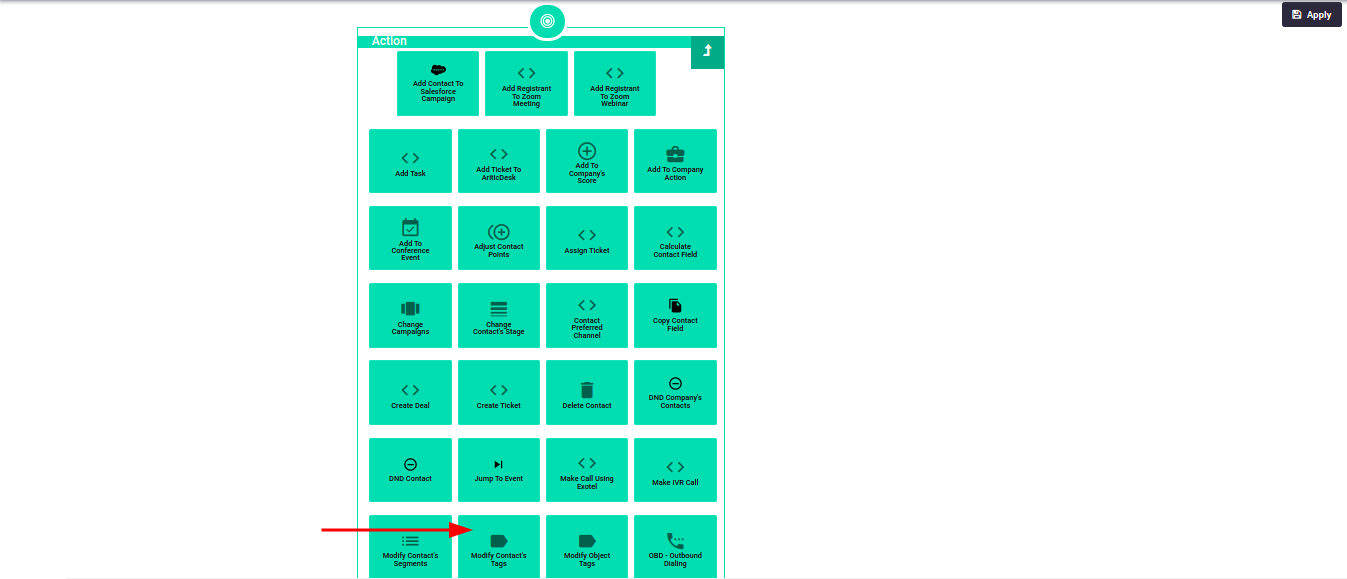
Inside Aritic PinPoint, engagement tags can be added or removed automatically inside the automation builder. When building an automation campaign, select marketing from the three options you get.

Launch your Campaign Builder to add or remove contact tags.
When building your automation campaign, you can use Condition Filters to add new tags based on lead behavior as mentioned inside the campaign flow. Once you have added the condition filter of Contact Tag, now you add more actions and decisions. Based on how your lead behaves, you can Modify your contact tag by adding an Action Filter stating to modify (or remove) the previous tag and add a new one.

[lore_alert_message type=”info”]
These two filters work hand in hand to modify, i.e., to add or/and remove engagement tags to your contacts. When the contact visits your website or engages with your email, they are included in these automations. Both of these automation filters compliment each other, and hence, usage should be equal. They will not show any engagement for any sent emails or website visits unless you activate them.
[/lore_alert_message]
Three major engagement tags used:
- Engaged: Contacts that have been active over the last 30 days and is still active.
- Disengaged: Contacts that have not been active for the last 30 days.
- Inactive: Contacts that have not been active for 60 days or more.
Contacts get added in the automation through these triggers (and more):
- Custom event
- Clicks email
- Replies to email
Also, each trigger is set in a manner that it runs multiple times, this allows the same contacts to re-enter into the automations.

For the tags to be added or removed from the automation, it depends on how much time has passed since the contact engaged. Though there are intervals already set, you can modify them as per your requirements.

[lore_alert_message type=”info”]
Note: For the websites to track engagements, you need to have site tracking enabled.
[/lore_alert_message]
Now that you know how these tags are used in automation, here is how you can benefit from them:
- With the help of a contact tag, you can create a segment of contacts and send campaigns to them. Now by doing so, you eliminate contacts who have the tag of “Disengaged” or “Inactive” which in turn enhances your deliverability
- Leverage other communication channels like SMS or site messages. This would be advantageous to target contacts who are not active, i.e., “Disengaged” or “Inactive”
- Enforce advance searches to examine how many contacts are tagged as “Disengaged”, “Inactive” or “Engaged”
- After the tags are applied, increase or decrease a contact score.
What’s after engagement?
You can go through the campaign and automation and analyze the reports to see which contacts clicked and opened your emails. Given below are the metrics through which you can analyze:
- Click rates
- Open rates
- List of contacts that did not open
- List of contacts who did open
- List of contacts who clicked the link
- List of contacts who did not click the link
Hope this was valuable to you. If there is any other query, do not forget to drop them in the comment section below.