Using Google Analytics and Facebook Pixel Ad Event Integrations
Once you have completed the configuration of Facebook Pixel and / or Google Analytics ID (for Google Adwords) integration inside Aritic PinPoint, you will get a feature inside your Automation Campaign to send an event trigger to these re-marketing lists after a page is being visited by a contact from the automation campaign flow.
Follow these steps to build an automation workflow to Sync Google Analytics (Google Ads) and/ or Facebook Pixel Ad Event list:
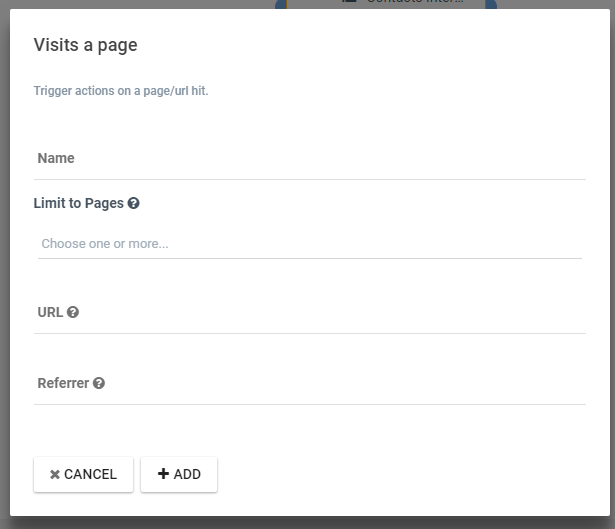
1. To automatically send the Google Analytics and/ or Facebook Pixel Ad Event for contact from Automation Campaign, head over to an automation campaign workflow and inside the Decision, add “Visit a Page” decision. Add the page conditions where you want to tack a visit by the contact flowing through the automation campaign workflow.

2. After adding the decision, now you can add an Action called Send Tracking Event to the decision.
![]()
3. Now, from the pop-up screen you can add event triggers, select the “Facebook” and/ or “Google Analytics” from Services.
4. You can add additional Category, Action, and Label events from this screen.
![]()
Once the above setup is complete inside an Automation Campaign workflow, depending upon a contact’s page visit decision from the campaign workflow, these custom events will be sent to Google Analytics and Facebook Pixel automatically; if both are selected under “Services” inside the “send tracking event” option.
View the Facebook Pixel data inside Facebook Ads Manager:
To view the Facebook pixel data sent from the above automation workflow inside your Facebook Ads Manager account; follow the following steps:
1. Open your Facebook Ads account and navigate to the “Business Tools” button from the left menu; and select “Event Manager”.
2. Select the “Data Source” Pixel which you have added in this step.

3. After you have selected the “Data Source”; roll over the “Overview” and then navigate to “Pixel/Conversion API” details.

4. Under the “Pixel/Conversion API” details; expand the “Events” which is relevant to your pixel data and view the detail. This panel has all the detail of the interactions and activities relevant to the pixel. The Category parameters passed in the above automation workflow is available inside the “Parameters” of this Facebook event pixel.

From this panel, you can export the event, and manage the event data too. You can also use these events inside your Facebook Ads campaign directly.
View the Google Analytics Event Inside your Google Ads Account:
If you complete the integration of your Google Analytics Event and Google Ads account and Aritic PinPoint properly and the above workflow works well for a segment of contacts, then you can view the contact inside your Google Analytics Events.
1. Sign in to your Google Analytics account.
2. Navigate to Behavior > Events > Overview from left menu.
Here you will view the Event Category, Event Action, and Event Label which you had defined in above step 4 of Aritic PinPoint Workflow.

3. In above view you will get the Google Analytics Events, but the goal here is to re-target ads to your contact from your Google Ads Re-targeting list. To accomplish this, Sign in to your Google Ads account and navigate to Audience Manager.

4. On the Audience Manager screen, Add Filter for Data Source – Google Analytics. This filter shows all the available Google Analytics Event Segments inside the Audience Manager of Google Ads.

Now you can use these different Audience Segments / Lists built from Google Analytics Events for advertising to the contact pixel ids’ sent from Aritic PinPoint.
Note: Aritic PinPoint never shares contact email address/ PII information to Google Analytics/ Google Ads. It is the tracking pixels ids which is getting shared across these different systems.
You can follow Remarketing with Analytics and Remarketing for Facebook Ads guides to understand more uses of these events.
Note: Category will only work for Google Analytics.
Still Not an User of Aritic PinPoint Automation?

0 Comments