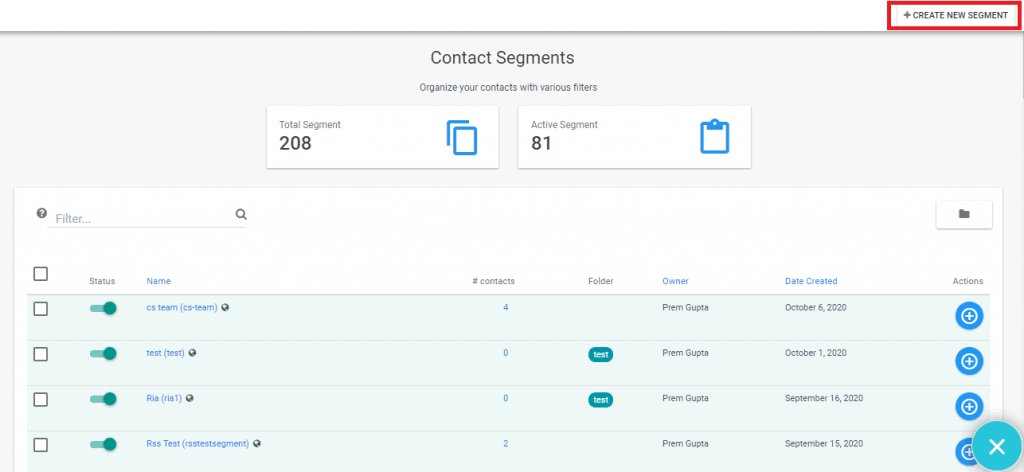
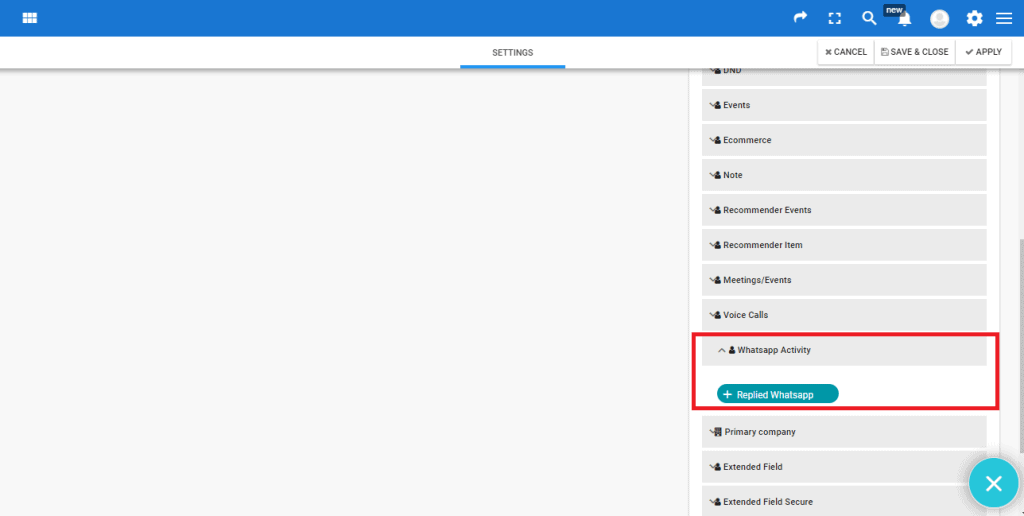
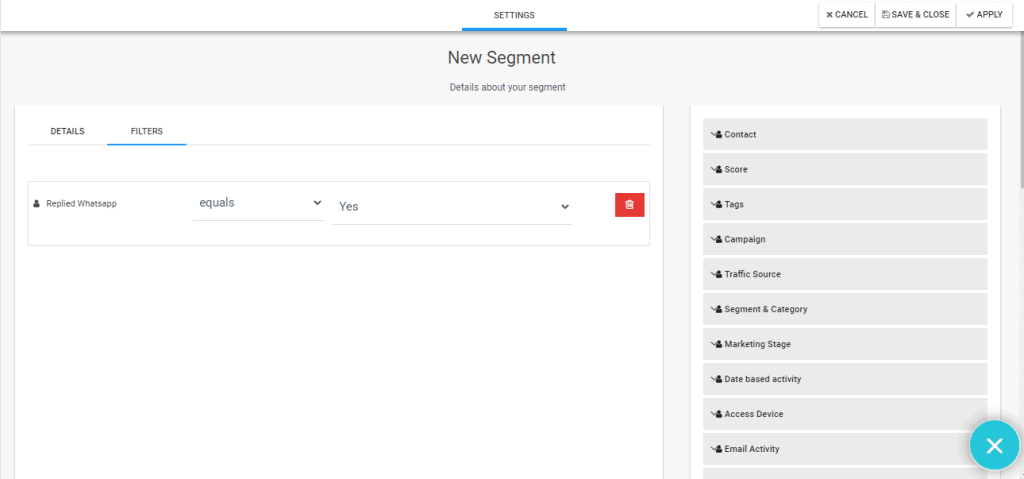
This article describes how to set up integration between WhatsApp and Aritic PinPoint. This article gets divided into two major parts:
- Integration of WhatsApp and Aritic PinPoint
- Use case
You can contact the Aritic Integration Support team if your account does not fall in the above category.
You can add registrants through the Aritic dashboard for the WhatsApp Reply and follow the below points to execute the whole process.
WhatsApp Integration requirement
- In Aritic Dashboard, Click on settings in the main navigation bar and select apps under integration settings, as shown below.
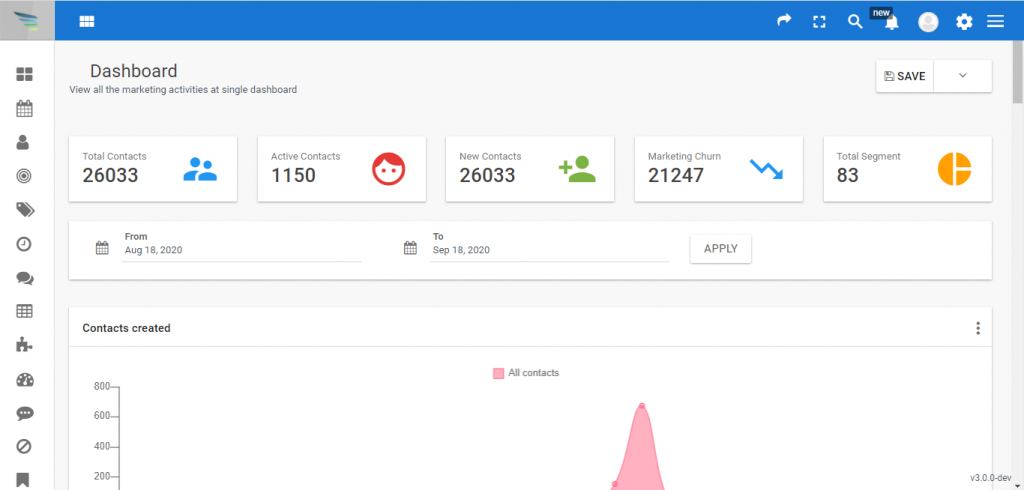
2) After selecting apps, scroll down to choose WhatsApp.

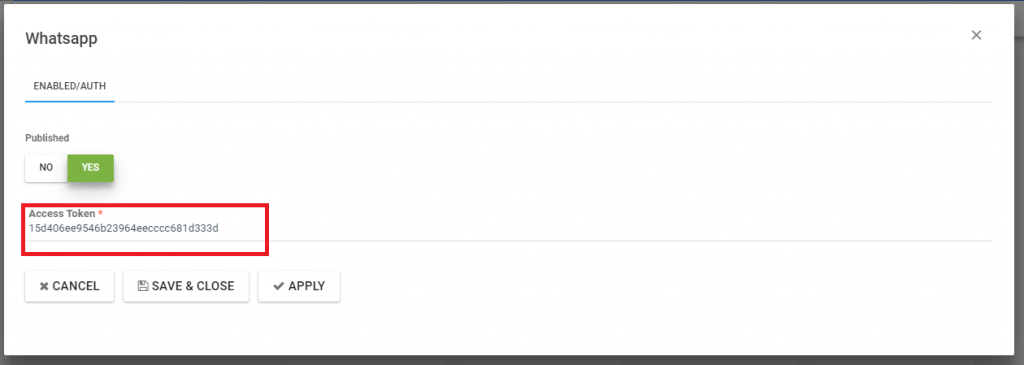
Set up an Automation workflow inside Aritic PinPoint
If a client wants to set up an automation workflow to add WhatsApp senders, then learn about the process from the below steps.
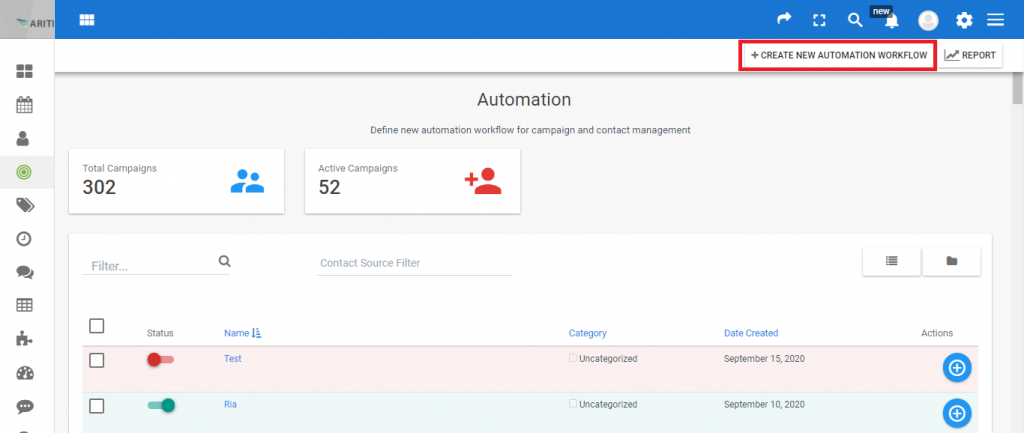
1) In your Aritic account, click on Automation and go to ‘Create New Automation Workflow‘ at the right top corner.
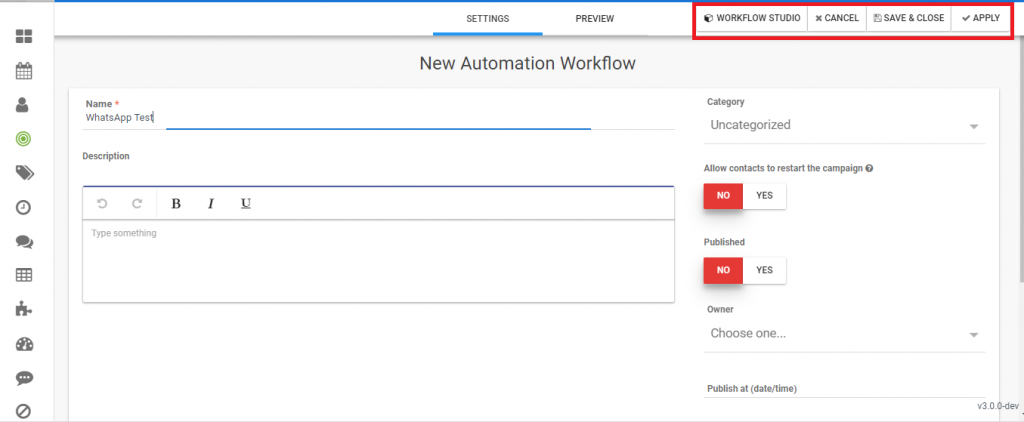
2) Under the new Automation Workflow, you have to fill up the Name and click on ‘Workflow Studio.’
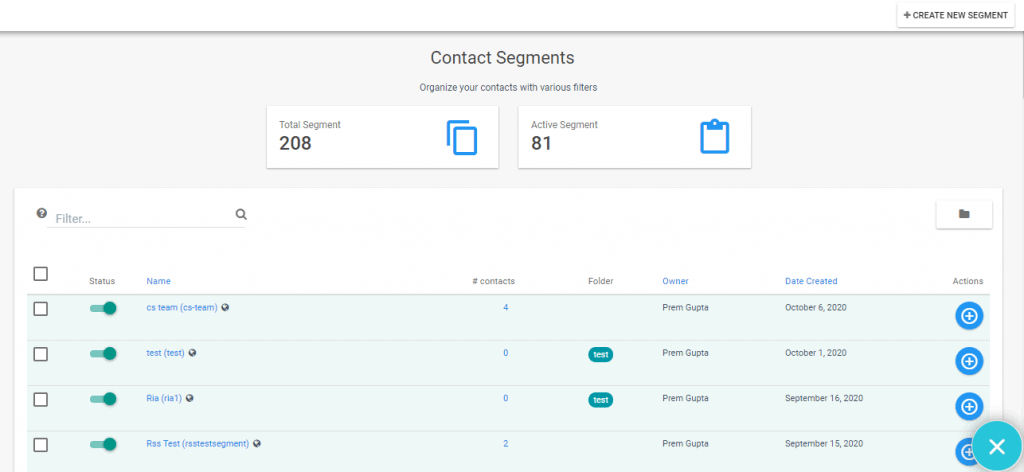
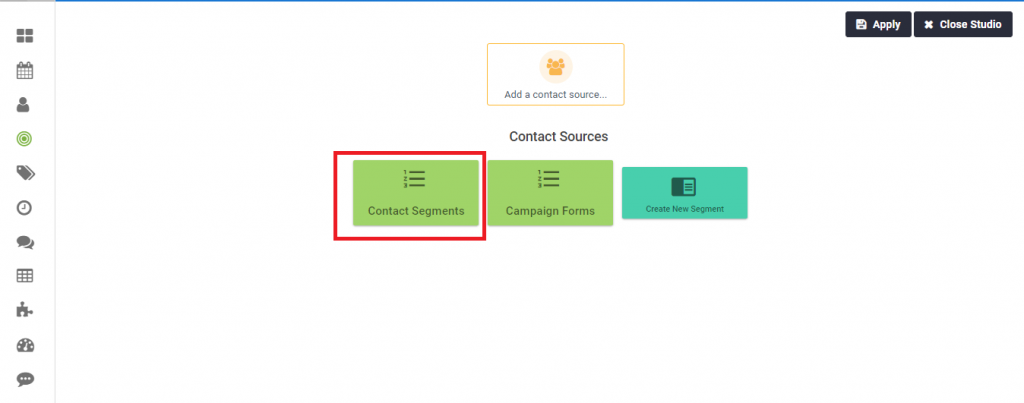
3) After searching the Contact Segments, click on it.
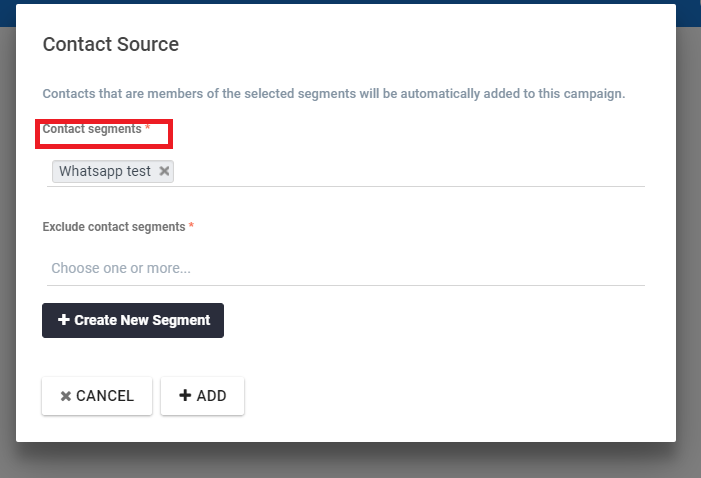
4) Once you click on ‘Contact Segments‘, hover over it and fill in the Contact Source. Don’t select any option under the Exclude contact segments. In the end, don’t miss to click the ‘Add’ button.
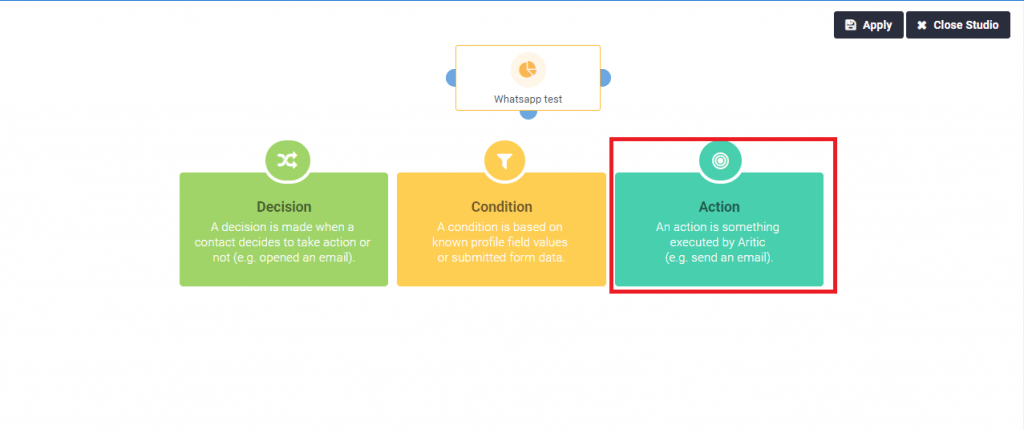
5) Click on the bottom plus sign of the ‘WhatsApp test.’ After clicking, immediately get a workflow chart of Decisions, Conditions, and Actions. Then, you have to press the ‘Action’ button.
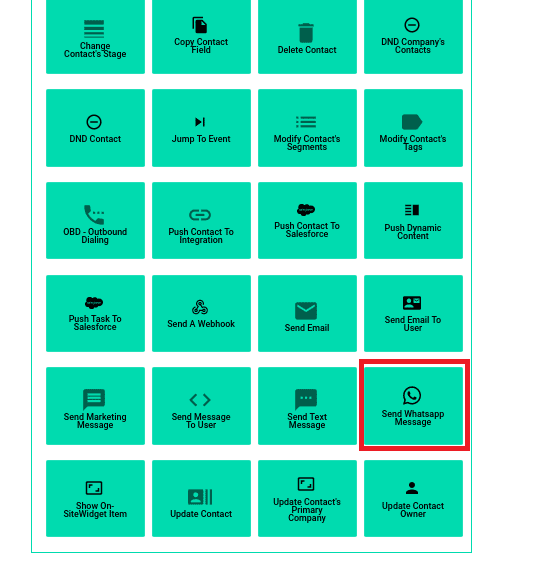
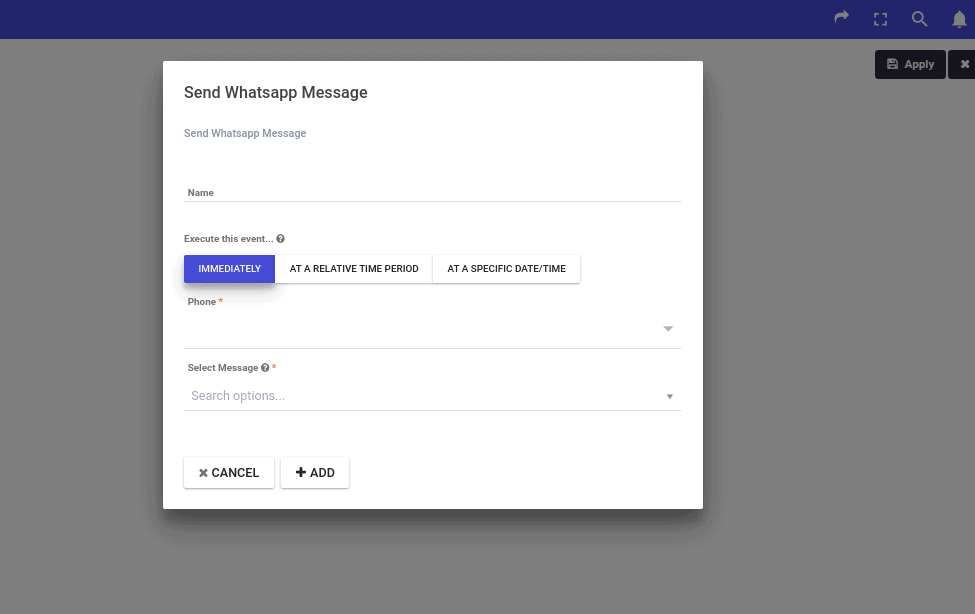
7) Under ‘Send WhatsApp Message,’ you have to fill up the ‘Name’, and ‘Select Message.’ After completing the form, click on the ‘Add’ button.

9) After selecting ‘Decision‘, you have to scroll down and search for ‘WhatsApp Read.’
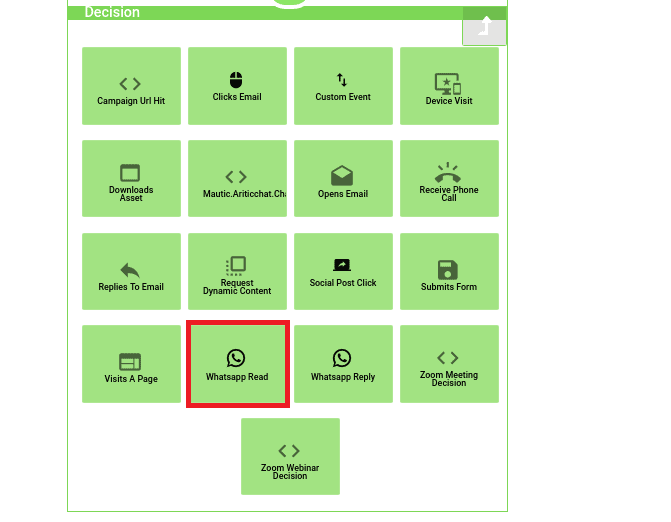
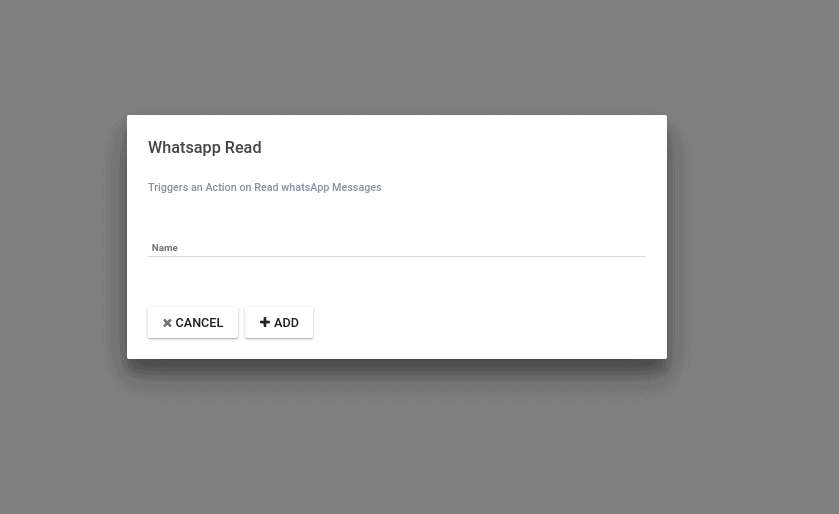
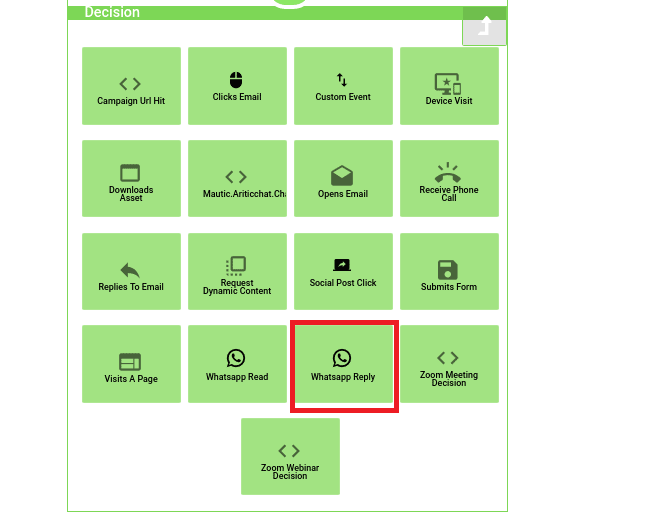
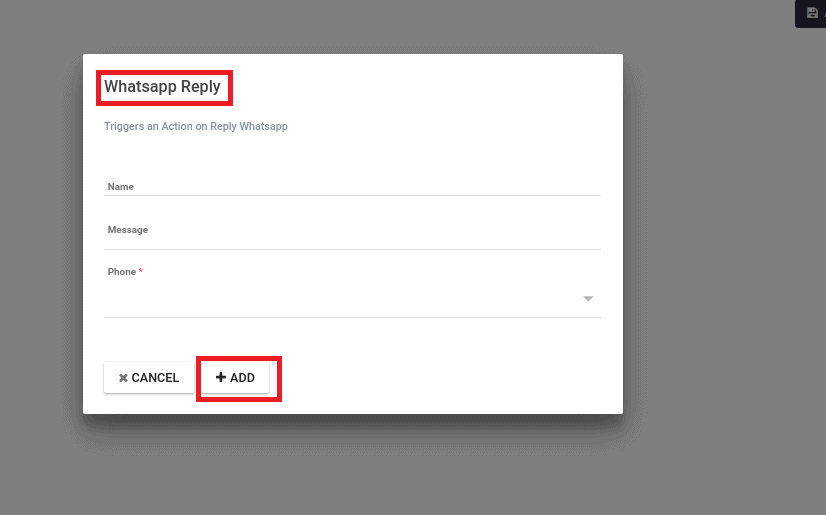
11) Then again you have to go to WhatsApp Reply.
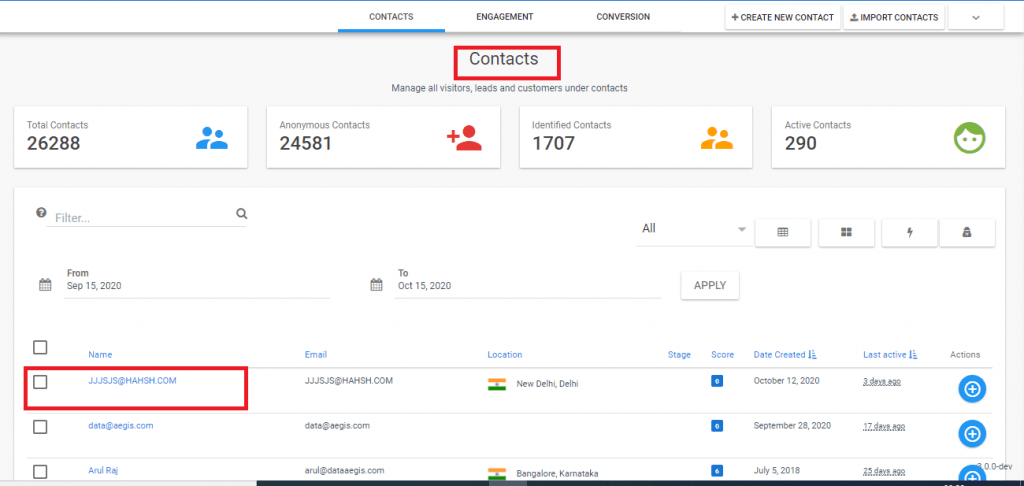
14) Navigate to Contacts in the left menu bar and click on it. Scroll your cursor to any particular client’s name and right-click on it.
