Notice: Function _load_textdomain_just_in_time was called incorrectly. Translation loading for the lsvr-faq domain was triggered too early. This is usually an indicator for some code in the plugin or theme running too early. Translations should be loaded at the init action or later. Please see Debugging in WordPress for more information. (This message was added in version 6.7.0.) in /home/u943064606/domains/docs.aritic.com/public_html/wp-includes/functions.php on line 6114

Notice: Function _load_textdomain_just_in_time was called incorrectly. Translation loading for the lsvr-knowledge-base domain was triggered too early. This is usually an indicator for some code in the plugin or theme running too early. Translations should be loaded at the init action or later. Please see Debugging in WordPress for more information. (This message was added in version 6.7.0.) in /home/u943064606/domains/docs.aritic.com/public_html/wp-includes/functions.php on line 6114
Using Aritic On-Site Widget to Display on Certain “Previous Page URL” – Aritic PinPoint Docs
Skip to content Skip to main navigation Skip to footer

Using Aritic On-Site Widget to Display on Certain “Previous Page URL”

An on-site widget is a web page or web application embedded as an element of a host web page but independent of the host page. You can check the visited urls to analyze the buying journey of customers.

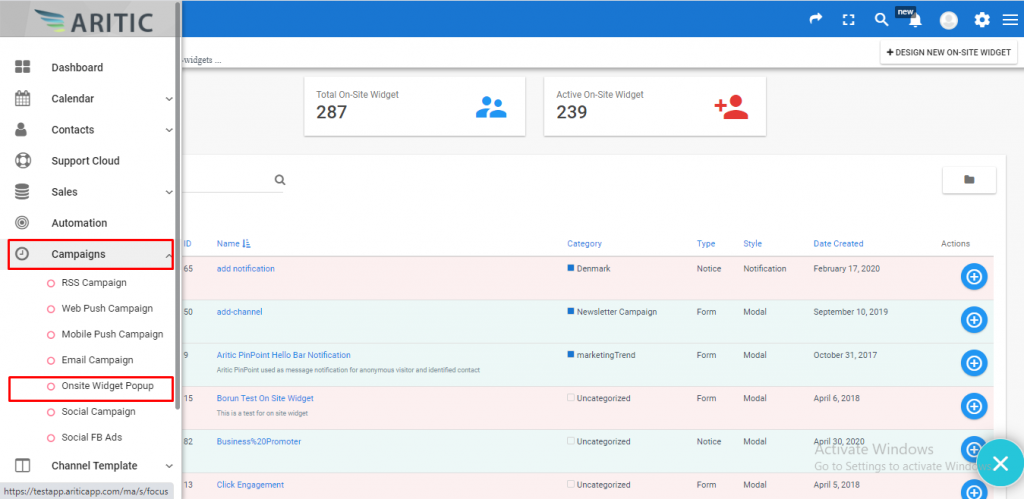
  1. Go To Aritic PinPoint dashboard and click on “Campaigns” and Click on “Onsite Widget Popup”.

This image has an empty alt attribute; its file name is Screenshot_2-1-1024x499.png
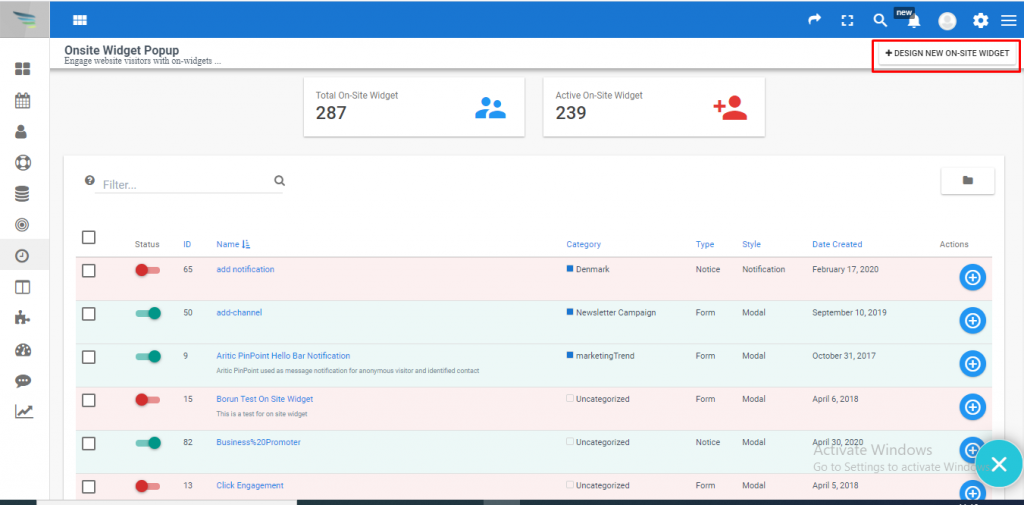
  1. Click on the “Design New On-site widget” at the top right corner of the page as marked in the screenshot.

onsite widget
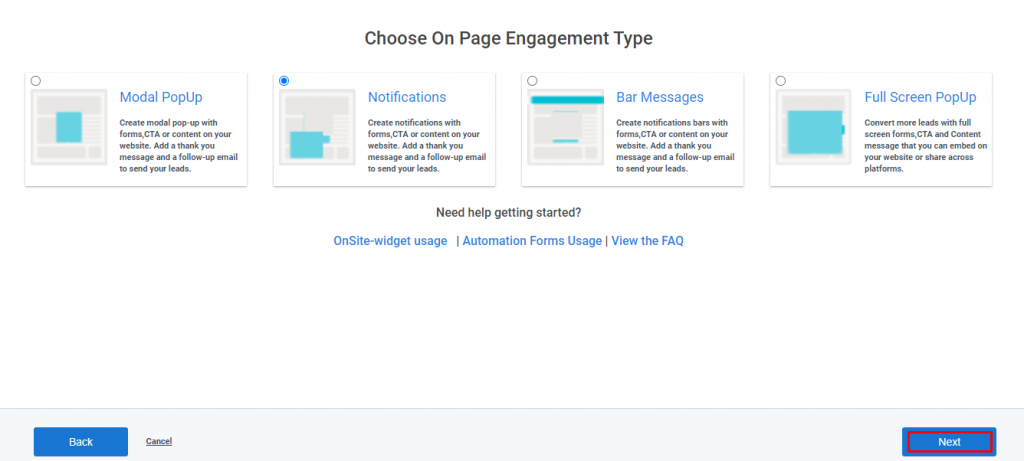
  • Select “Page engagement type” and click the Next button.

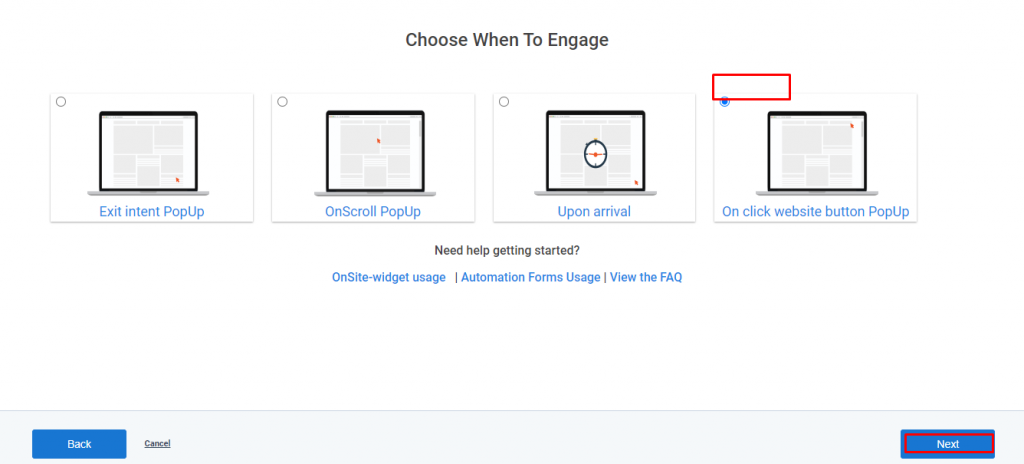
  • Select option in “Choose when to Engage” and Click on Next Button.

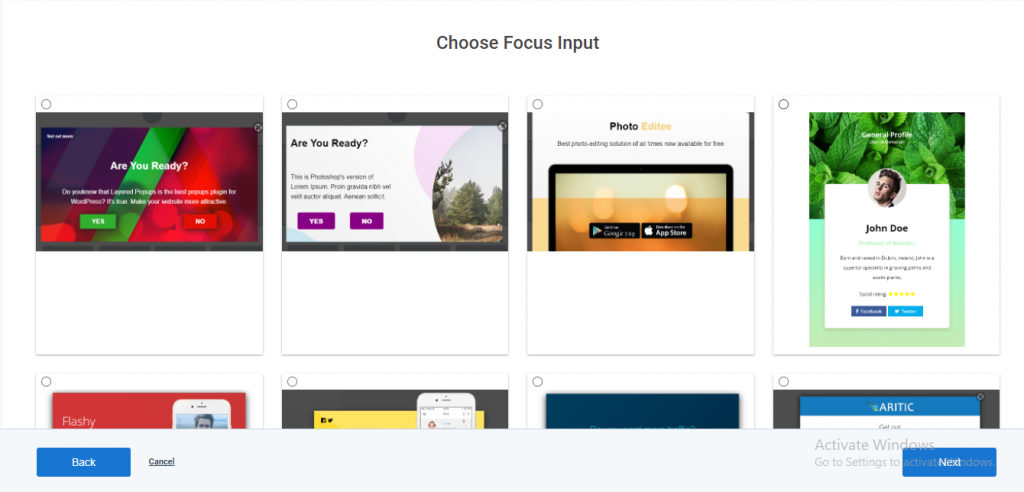
  • Select “Select Template From Gallery” option in “Choose Focus Input” and Click on Next Button.
This image has an empty alt attribute; its file name is Screenshot_20-1024x492.png
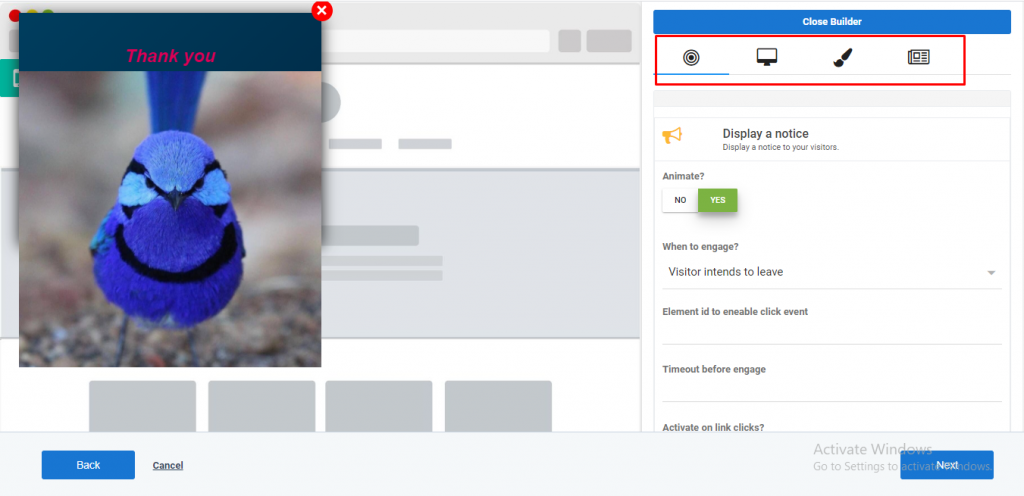
  • Design using the builder and close the builder.

This image has an empty alt attribute; its file name is Screenshot_21-1024x496.png
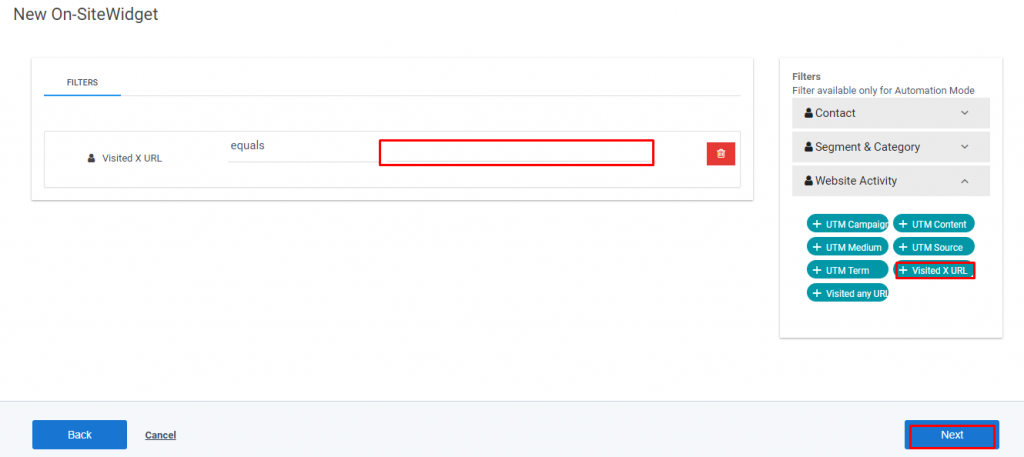
  • Click on Next button on Filters page and add “Visited X URL” as shown in screenshot .
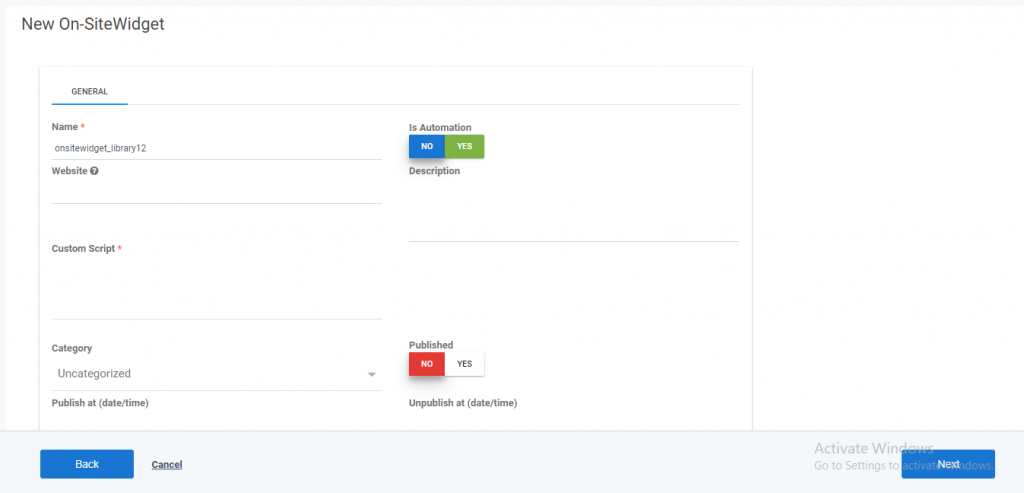
  • Fill the details in General Page and click on Next Button as shown in screenshot .
This image has an empty alt attribute; its file name is Screenshot_23-1024x493.png
  • In the last page, click on Save Button.


Still Not an User of Aritic PinPoint Automation?


Was This Article Helpful?

0 Comments

There are no comments yet

Leave a comment

Your email address will not be published. Required fields are marked *

This site uses Akismet to reduce spam. Learn how your comment data is processed.