Microsoft Dynamics CRM is a popular customer relationship management tool, which you can easily integrate with Aritic PinPoint and start managing your customer interactions immediately. It is a great CRM to enable sales and marketing synchronization. With its integration with Aritic PinPoint, you can automate your business processes better and nurture customers throughout their lifecycle.
This plugin can push/pull contacts to and from Dynamics CRM when a contact does some action or manually executes the sync leads command.
To integrate Microsoft Dynamics CRM, you will need to first log in to your Dynamics CRM account. If you don’t have one, this guide will help you create a Trial MS Dynamics 365 account.
Creating a Trial Dynamics 365 Account
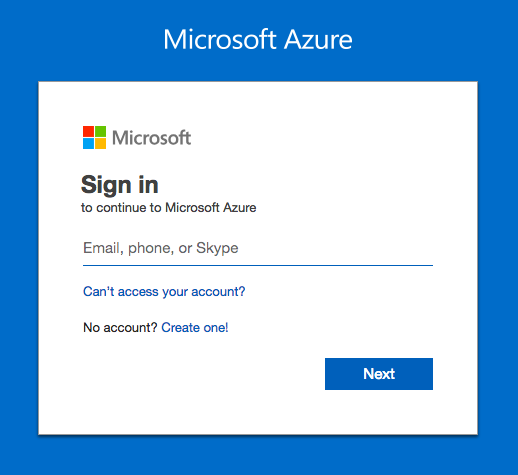
1. The first step is to log in to your Microsoft account. Go to Microsoft Azure Portal, and sign in using any of the three: email, phone number, or your Skype ID.
2. You will see the following window once you are logged in. Click on AzureActive Directory, and then on Apps Registration > New Application Registration [as shown below].

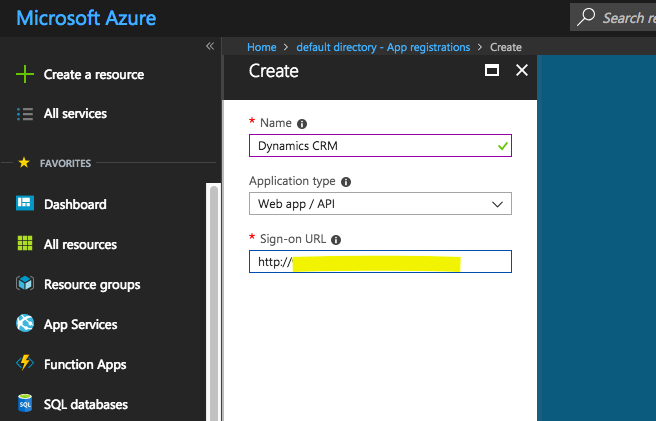
a. Fill in the details as shown below and click on Create.
[lore_alert_message type=”info”]
The Sign-on URL is the URL where you want your customers to get redirected while using the app. We recommend you to use your website URL here.
[/lore_alert_message]
b. Your application is now created. To view your application, follow the second steps. Click on view all application to see your new app [as shown below]
[lore_alert_message type=”info”]
c. Copy the Application ID as you will need it when you start configuring the plugin on Aritic PinPoint.
[/lore_alert_message]

3. Now you need to add a new Key. To do this, follow the below steps.
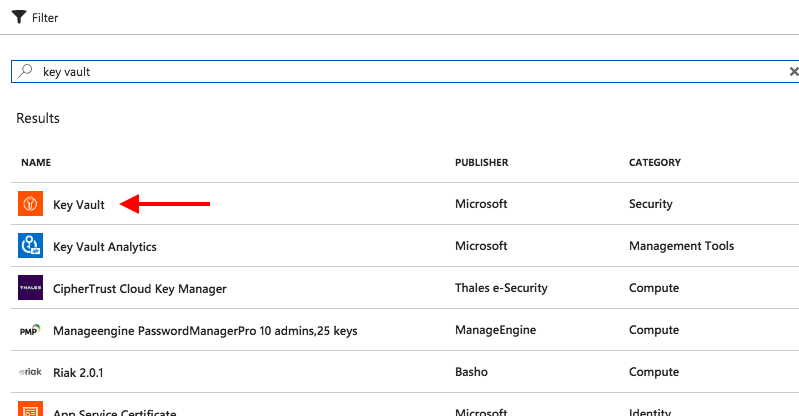
- Go to Create Resource option on the top left and search Key Vault.
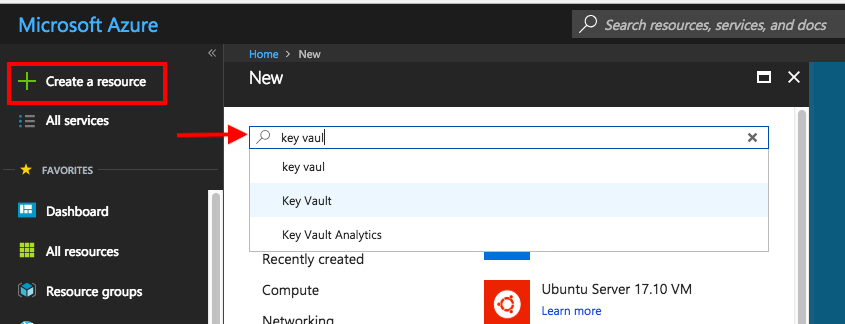
- Select Key Vault option from the list.
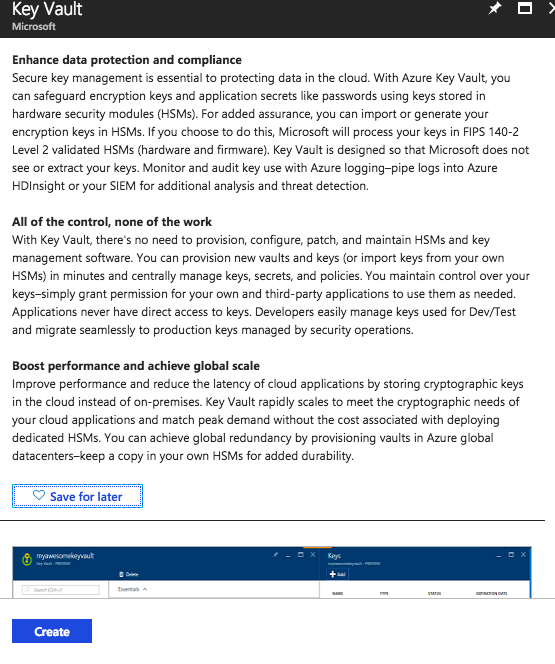
- Click on Create, and then save the Value.
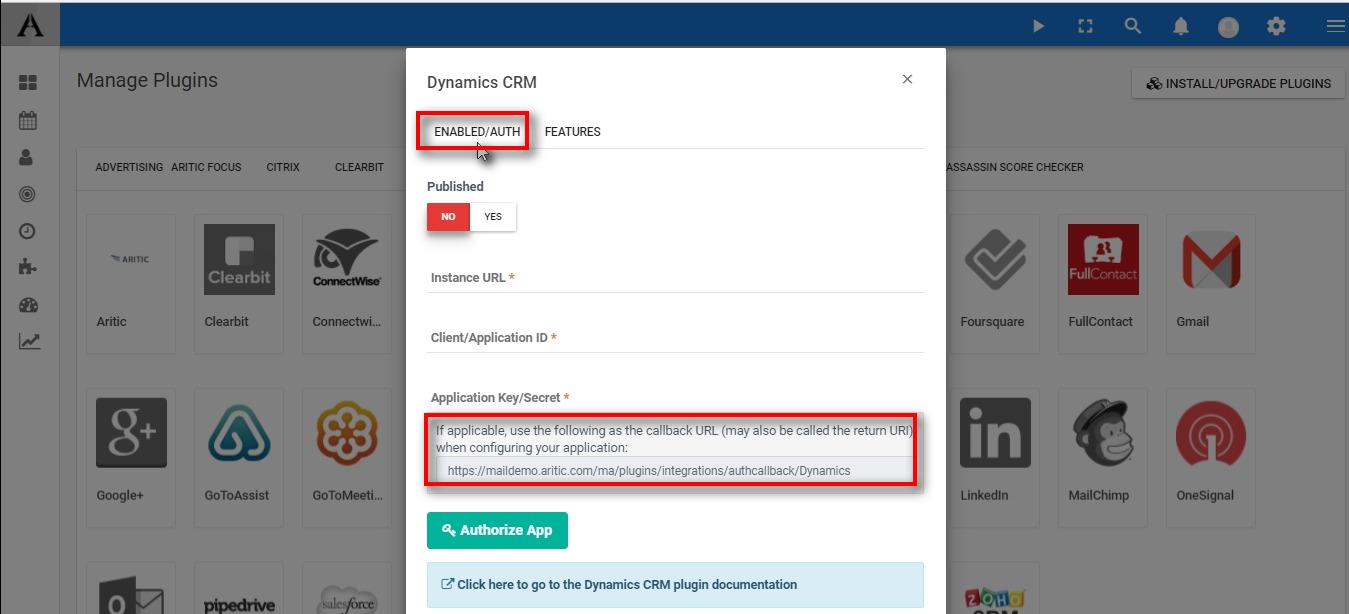
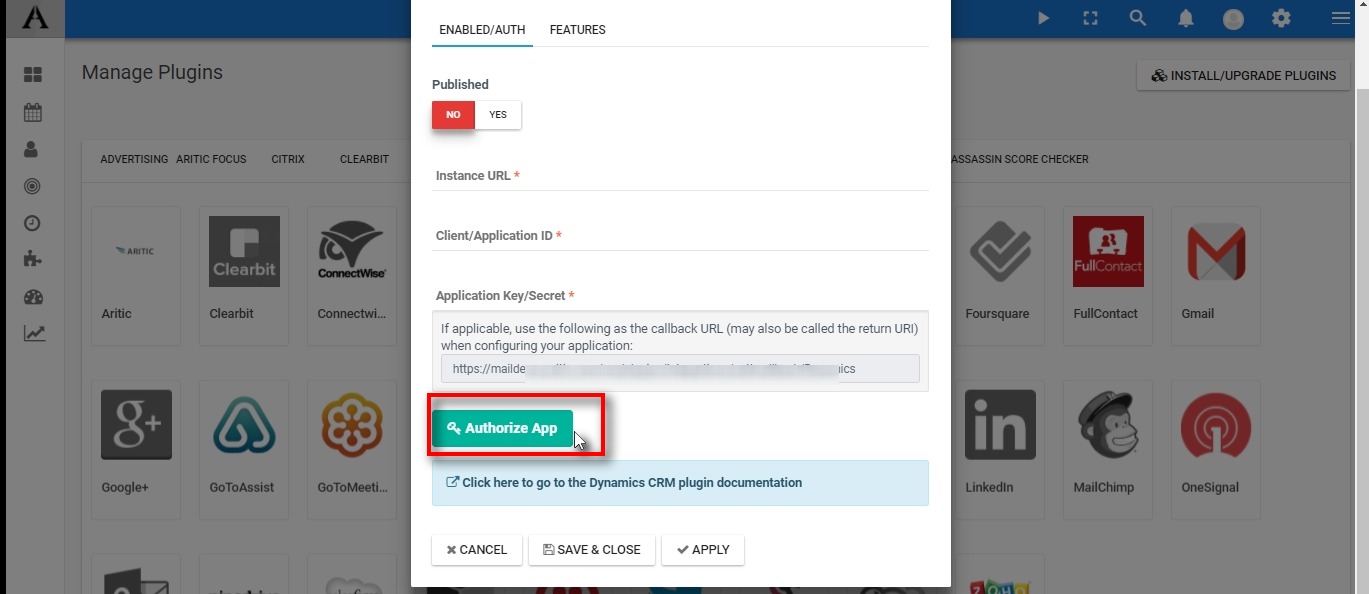
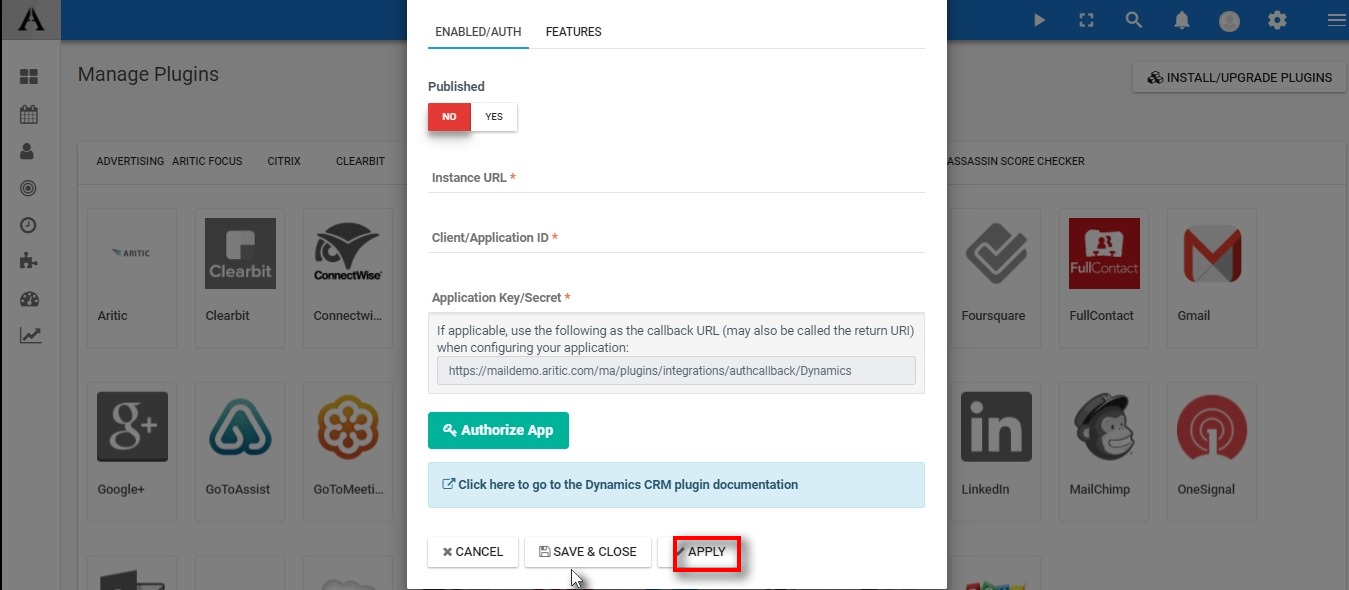
4. Now under the ENABLED/AUTH tab, you need to enter your “Instance URL, Client Application ID and Application Key Secret. You also have an option to either publish or unpublish it.
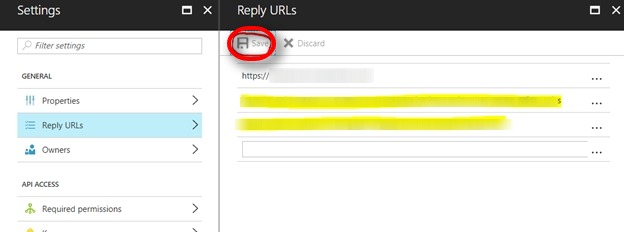
5. Configure the reply URLs using the callbacks from the plugin settings in Aritic PinPoint >> Click Authorize App
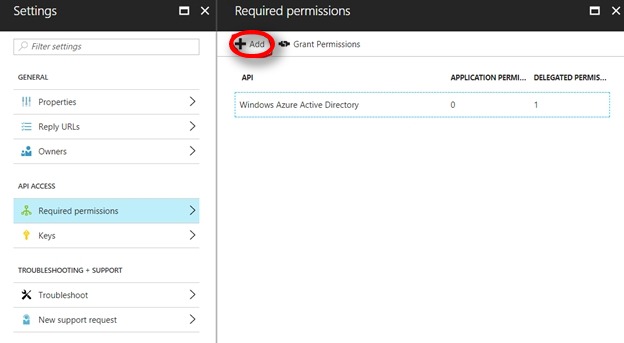
6. Configure the Required Permissions >> Click on Add.
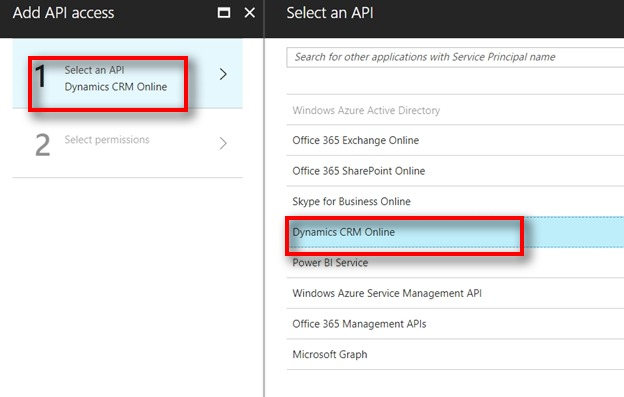
 7. Add Dynamics CRM Online API Access. Click Select.
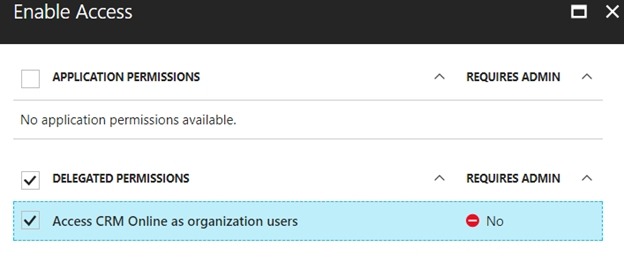
8. Enable Dynamics CRM access for the users. Click Select and then click Done.
 9. Activate the permissions by clicking “Grant Permissions”. Click Yes.

10. Click on Authorize App button.
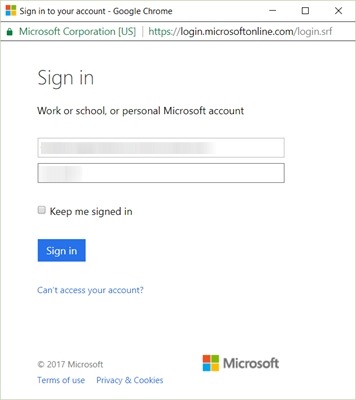
11. Use your onmicrosoft.com account to authenticate:
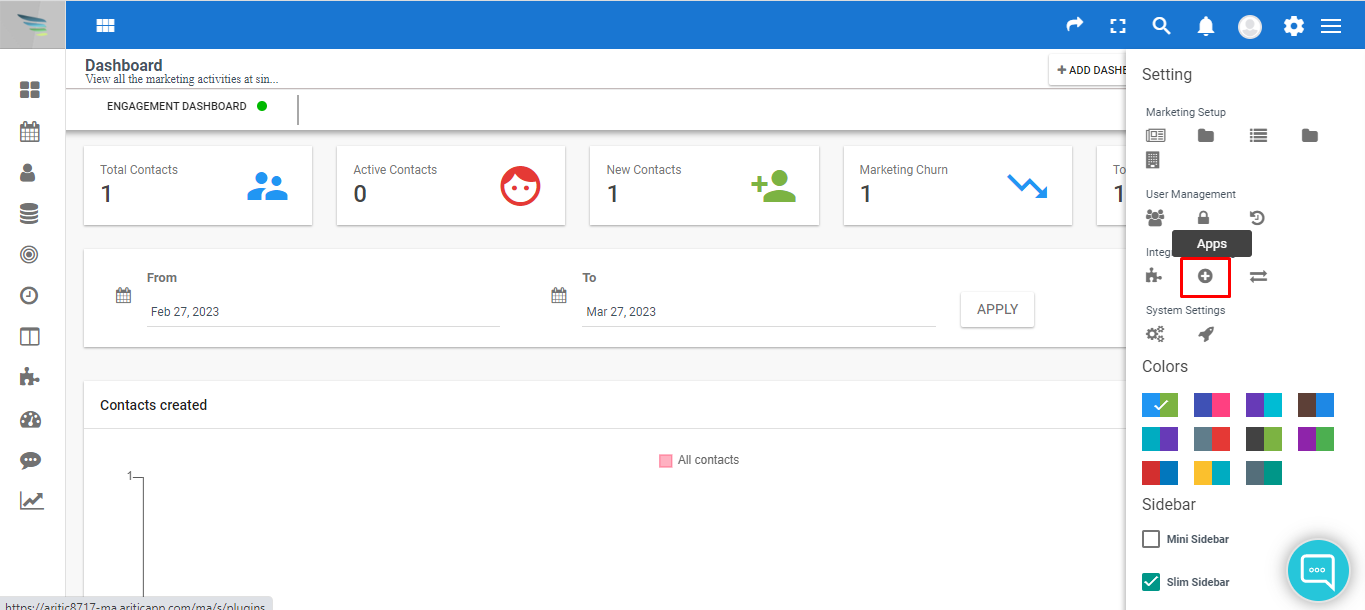
 12. On the top right corner of Aritic PinPoint Dashboard, go to Settings.

13. Click on “Apps”.
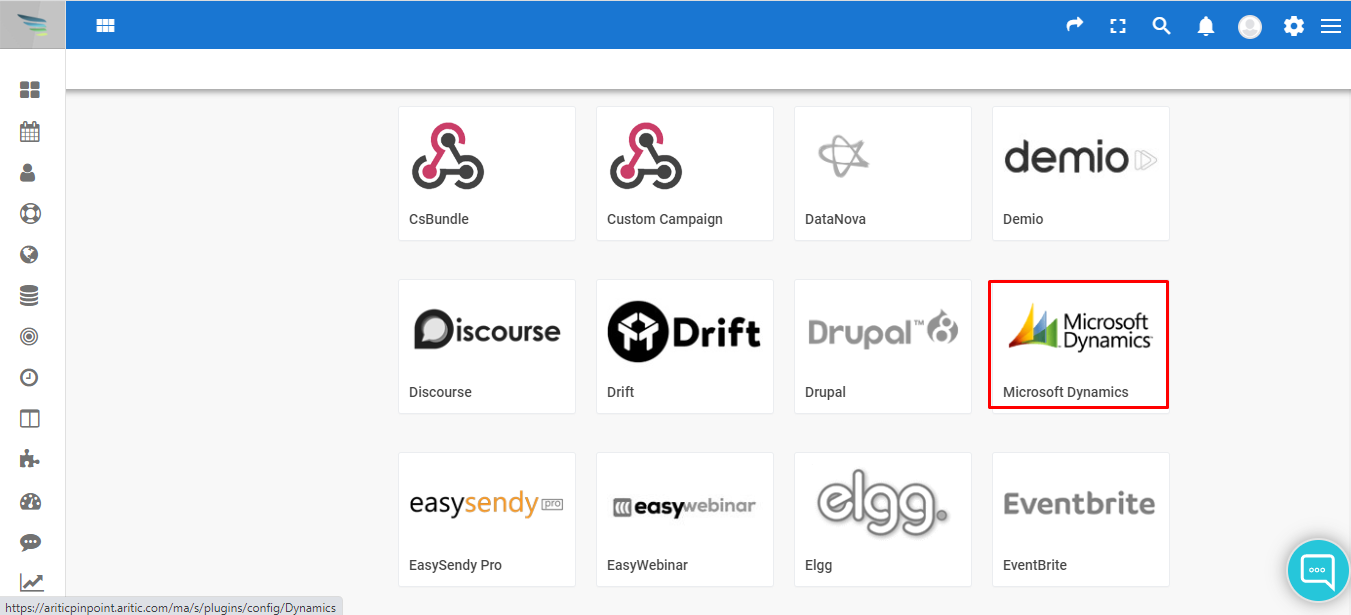
14. On the Apps page, click on “Microsoft Dynamics CRM” icon.
15. Click on Apply button to apply the changes.
Under the Features tab
You can set Enabled features like:
a) Triggered action push contacts to integration
b) Pull contacts from integration
c) Push contacts to this integration
1. You can set the Features Specific Setting:
Choose modules to pull data from
a) Contact
b) Company
c) Opportunity
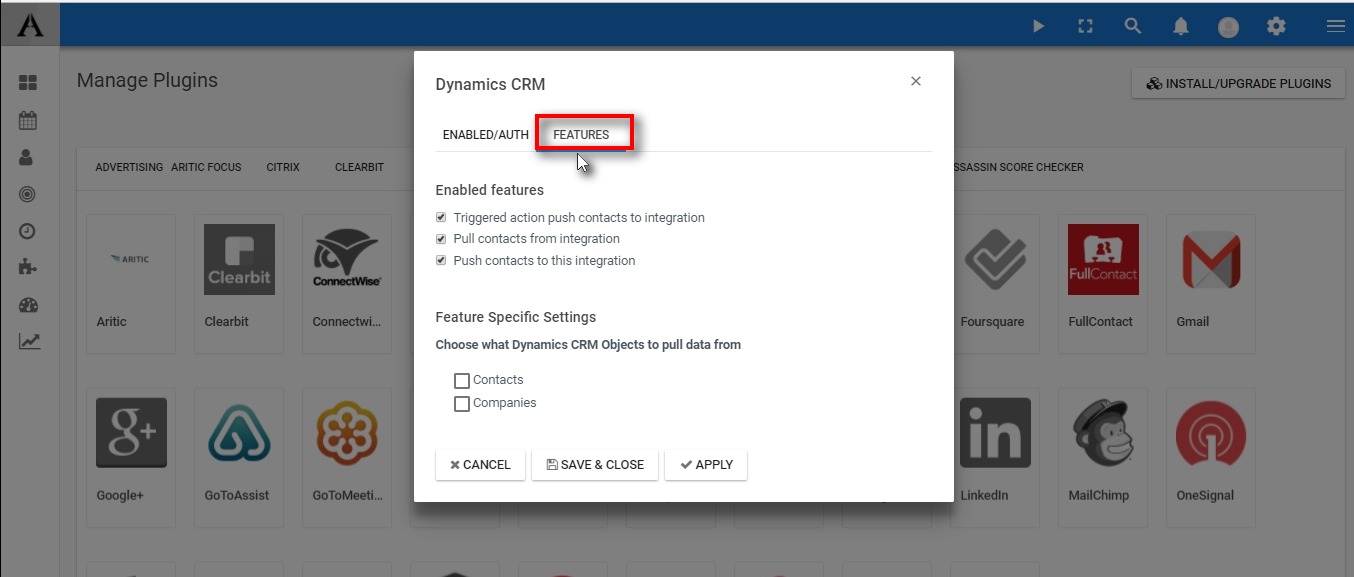
2. Click on Apply button to apply the changes.
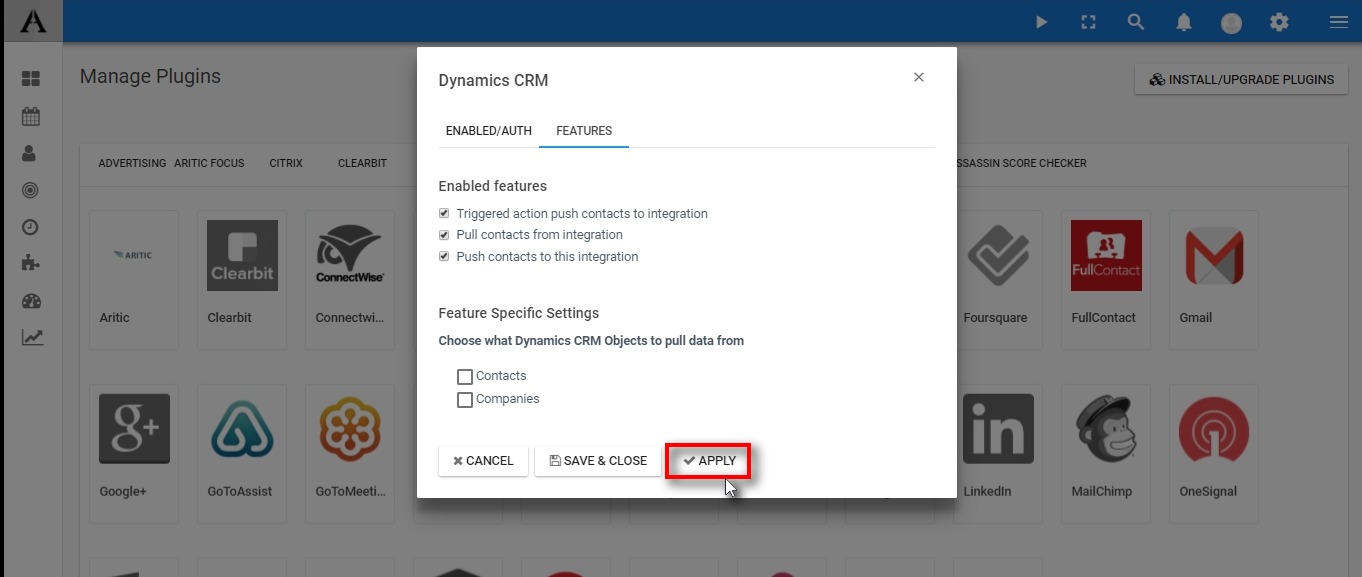
3. Click on Save & Close button to save all the information and go back to the previous screen.
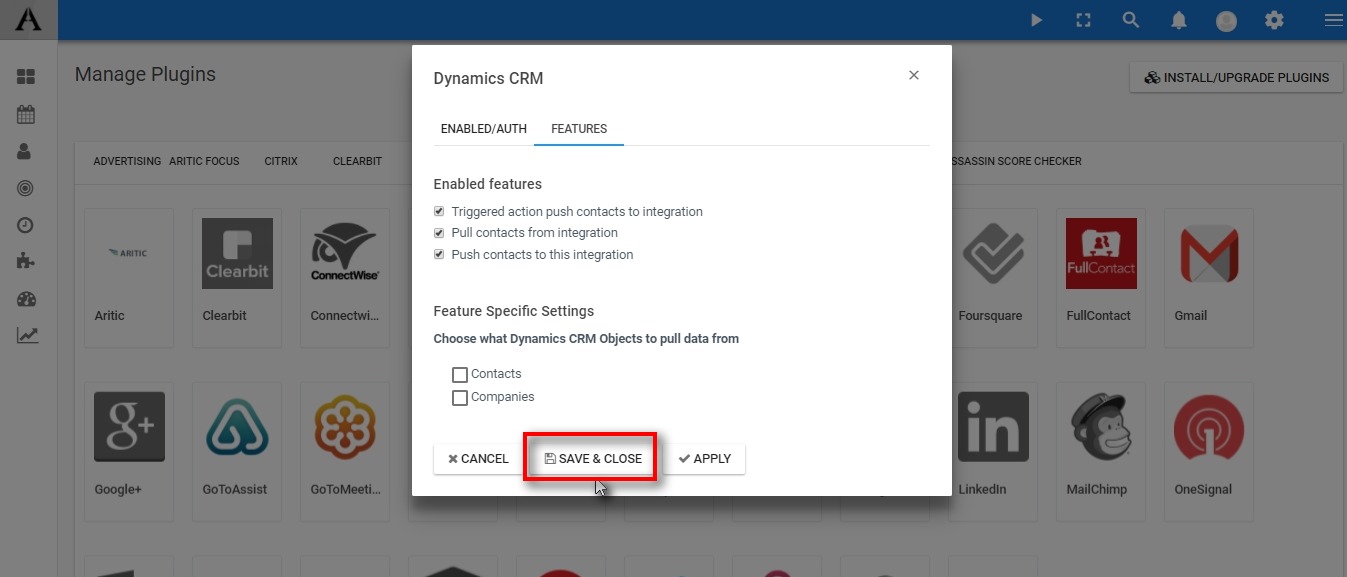
Once you have saved above plugin settings, you will get following integration features active inside your Aritic PinPoint account.
“Push contact to integration” From Aritic PinPoint to MS Dynamics:
This feature is available inside Aritic PinPoint Automation Campaign. From inside the marketing automation campaign builder, you will get following action:
- Form action – Contacts will be merged (if same user adding multiple contacts) and there can be duplicate push to MS dynamics
- Trigger action – Contacts will be merged (if same user adding multiple contacts) and there can be duplicate push to MS dynamics
- Campaign action – There will not be duplicate push to MS Dynamics as process sequential to merging.
It allow user to define the scenario to update or synced to the CRM.
How does the “Full sync” mode work inside Aritic PinPoint?
The cron mode is full sync mode where it check for all new contacts and push to MS Dynamics CRM, irrespective of the scenario or condition.
There will not be any duplicate push during the full sync mode. The Full Sync mode is applied directly from Aritic background application; you don’t have to do any additional setup.
How does the Fetch data from MS Dynamics work?
Aritic PinPoint application automatically fetch data from your MS Dynamics CRM account and the Leads from the CRM (is Mapped to contacts inside Aritic PinPoint), Account information from CRM is mapped to Company information.
All the leads are treated as separate contacts under Aritic PinPoint.
Aritic PinPoint fetches following items based on last modification date and date of last fetch CRON:
- Leads
- Contacts
- Company / Account
- Opportunity
What happens in First fetch?
First time Aritic PinPoint pick all the Leads/Contacts/Companies from MS Dynamics CRM to Aritic PinPoint.
Note: System autodetect the first fetch and subsequent fetch.
What happens in subsequent fetch?
After first fetch completes, Aritic PinPoint automatically switch to full sync mode and keep all Leads/ Contacts/ Companies in sync.
How does Contact / Company field mapping work in both system?
Contact field mapping setting under plugins allow to do contact field mapping to match leads/contacts, companies fields from MS Dynamics to Aritic PinPoint contact fields.
How does the update and delete rules work for Contact and Company?
Aritic PinPoint application supports one of the writing rules configured during deployment of application:
- Aritic PinPoint can delete contacts in MS Dynamics CRM
- Aritic PinPoint can delete or update when MS Dynamics CRM fields / Aritic PinPoint field is empty
- Aritic PinPoint never delete or update.
Opportunity data view inside Aritic PinPoint:
1. Once the data from Microsoft Dynamics is in sync with Aritic PinPoint; then you can view the available opportunity inside Contacts > Opportunities.
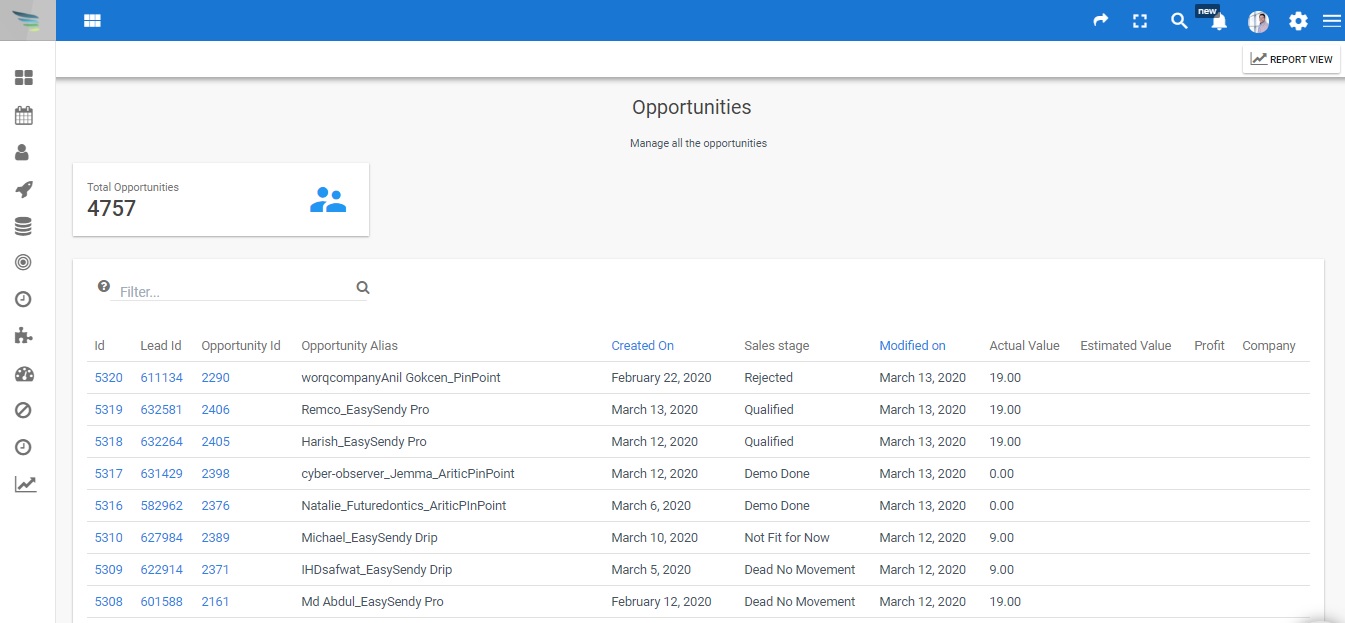
2. Report View of Opportunities:

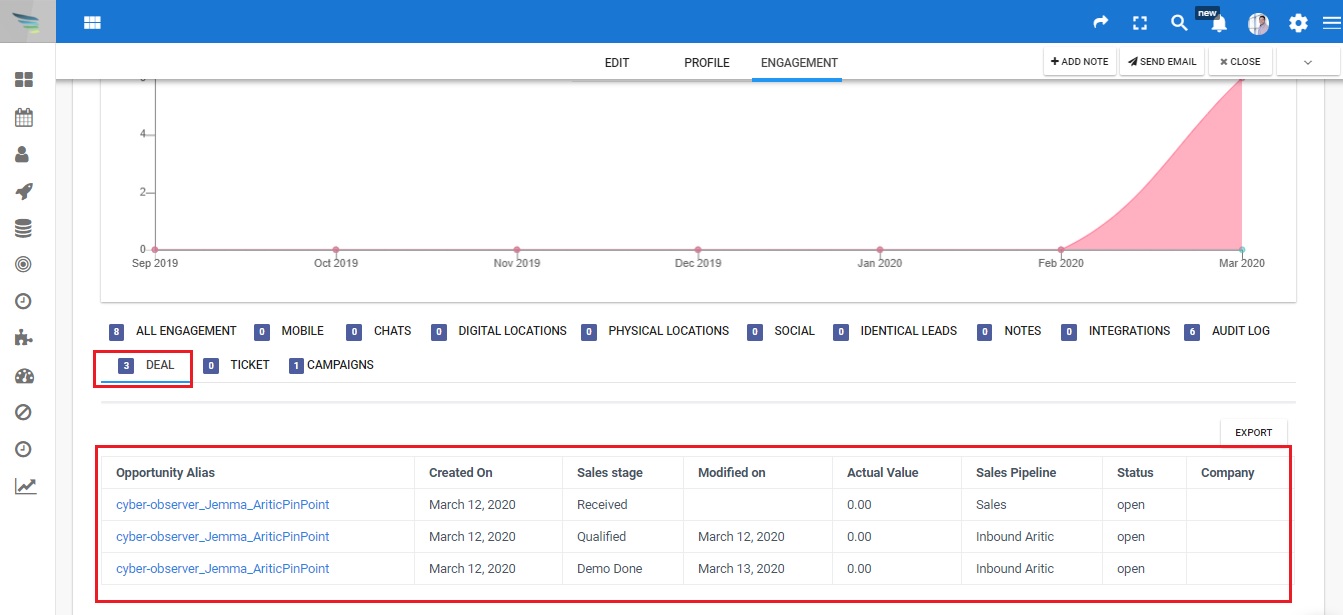
3. You can also view associated Deal and opportunity for a contact while inside the contact engagement view:
