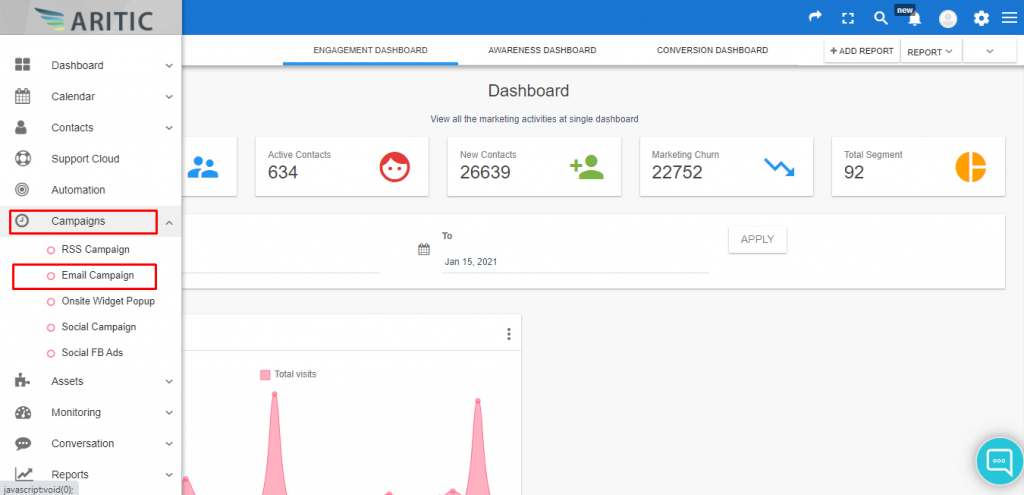
1. Go To the Aritic PinPoint dashboard choose the left menu and click on “Campaigns”, then click on “Email campaign” as shown below.
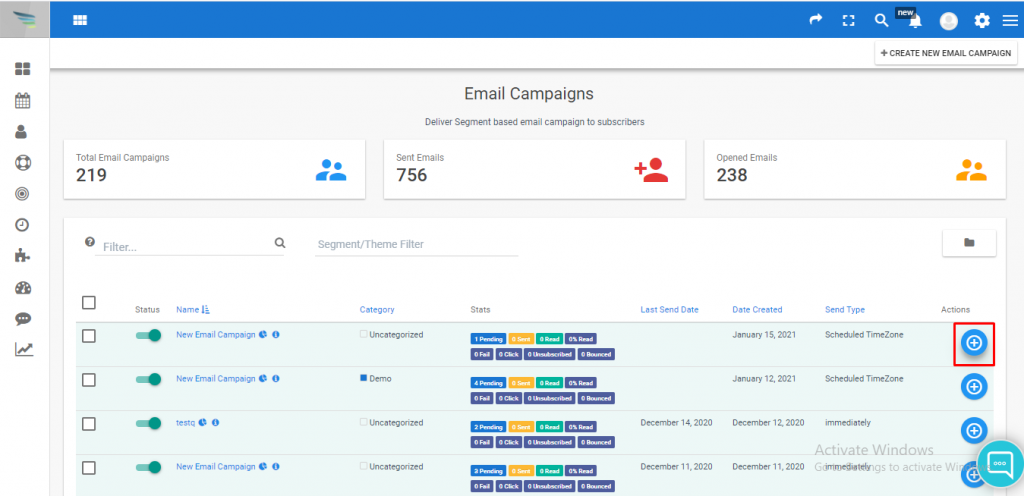
2. Go to any individual campaign and move your cursor to the right corner, and click on the “Action” (+) icon.
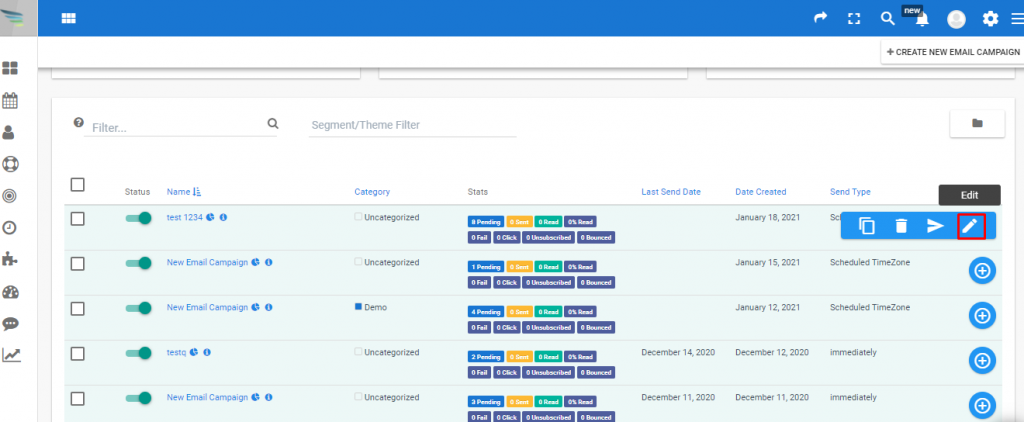
3. Select the “Edit” button as shown below, and here you can edit the name of your existing Email campaign.
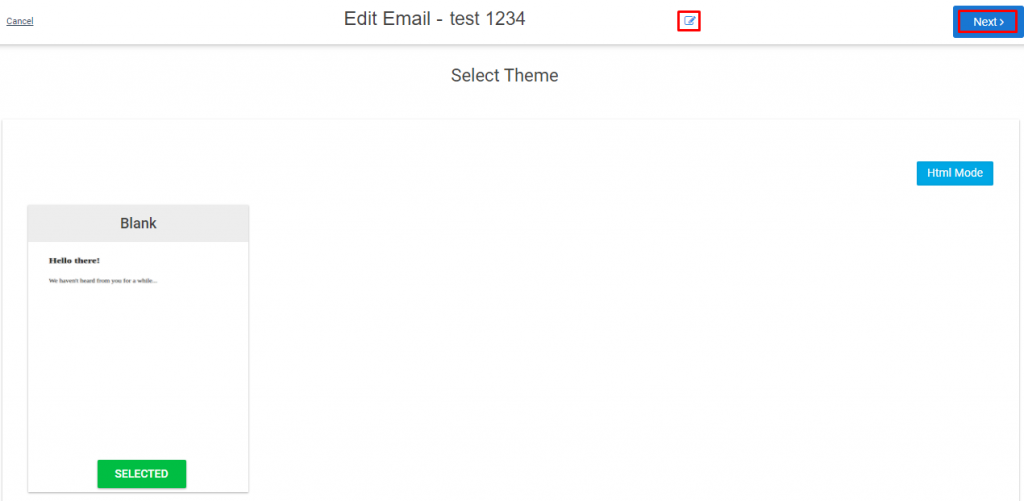
4. Click on the “Edit” button as shown below to edit the name of your existing campaign. And change or edit the name as required and click on “Next”.
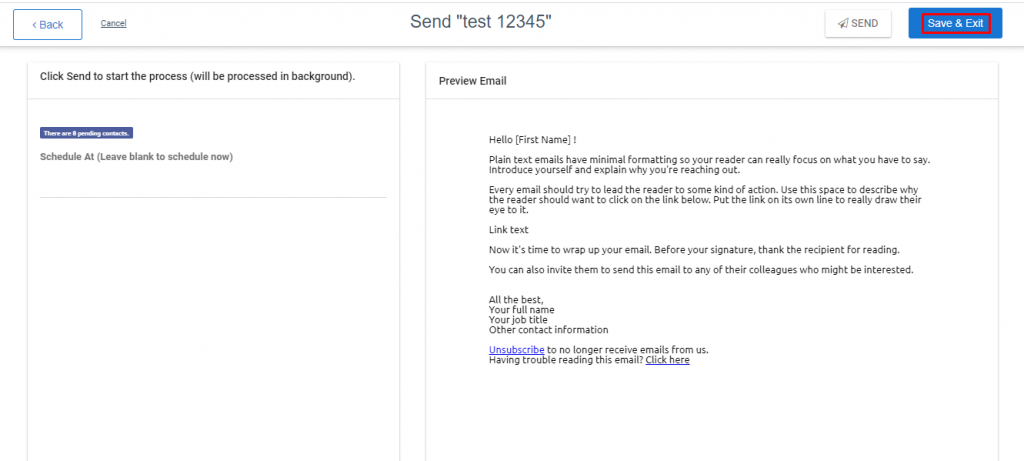
5. Now fill in all the details inside the email template as per your requirement and click on Next, in the end, click on “Save & Exit”.
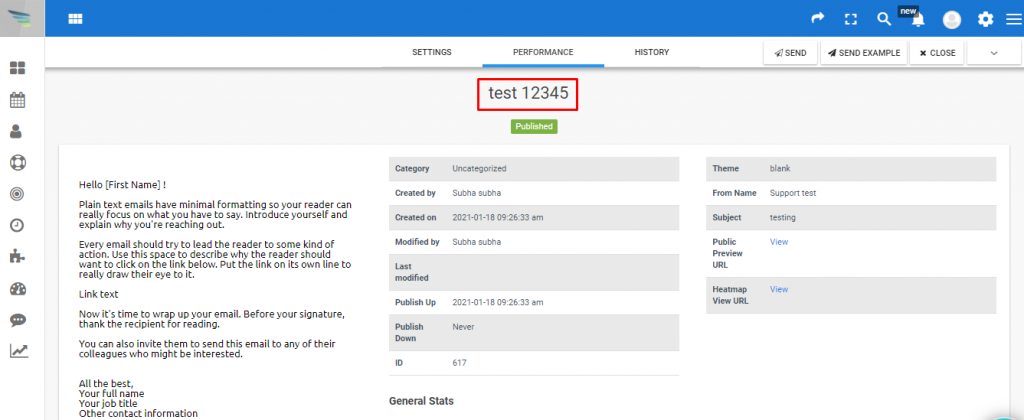
6. Now you can see the changed name of that campaign.