Inside the Aritic PinPoint application, you can choose as well as add new attributes of the contact information to display. It will help you to view the contacts on a specific list in your account. So, you have to put all your contacts inside the contact list and get pop-ups to add new columns in the application. Based on your requirements, you can include columns like name, email, birth date, location, job title, score, last active to see the details about your contacts. It will help you arrange the contact fields at a place and sort out all the information at once.
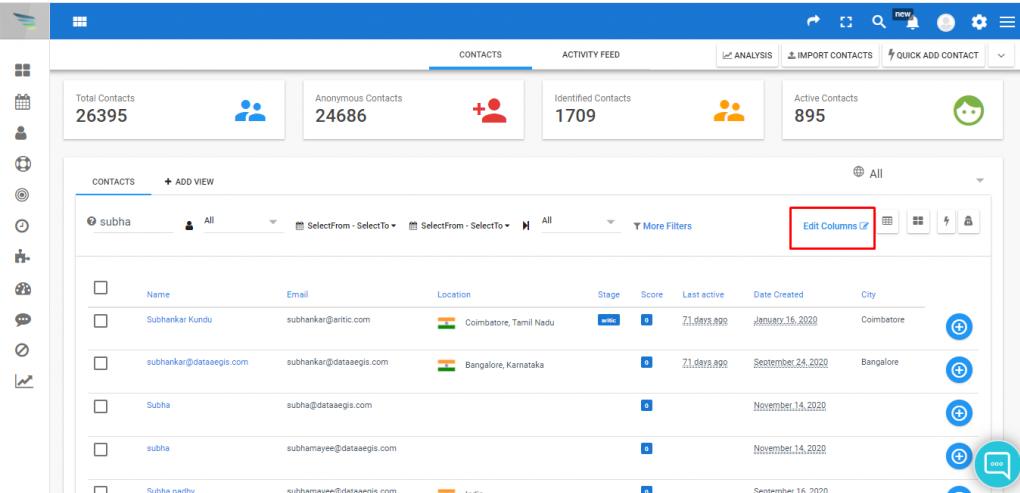
a) Go to the Dashboard and click on contacts under the “Contacts” option from the left menu as shown below.

b) Click on the “Edit column” on the right side of the “Contacts” page.
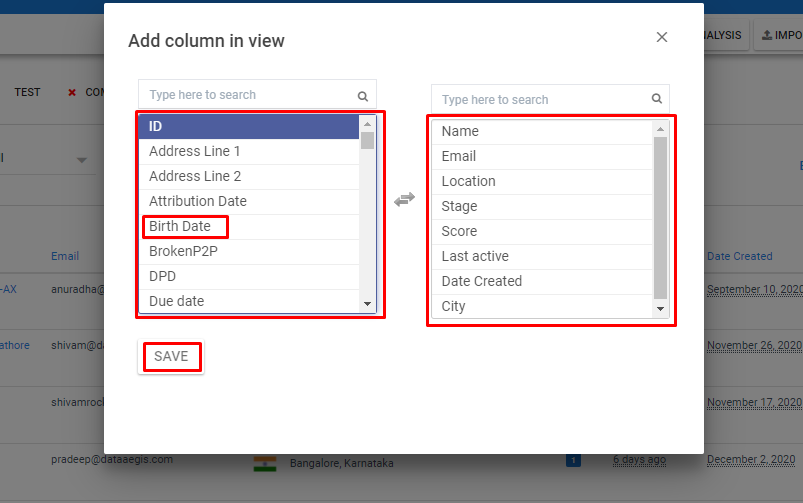
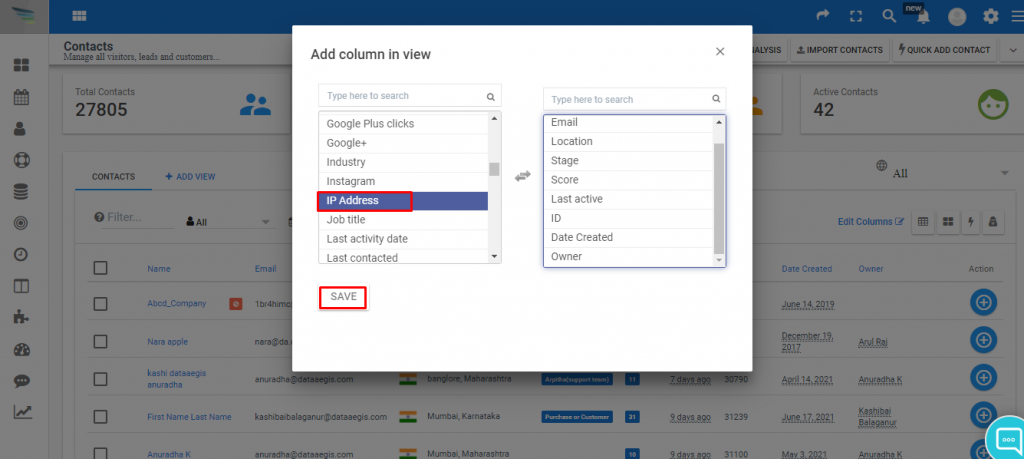
c) After clicking on the “Edit column Option” You will get a pop up i.e “Add column in view” to add new columns as shown in the below screenshot.
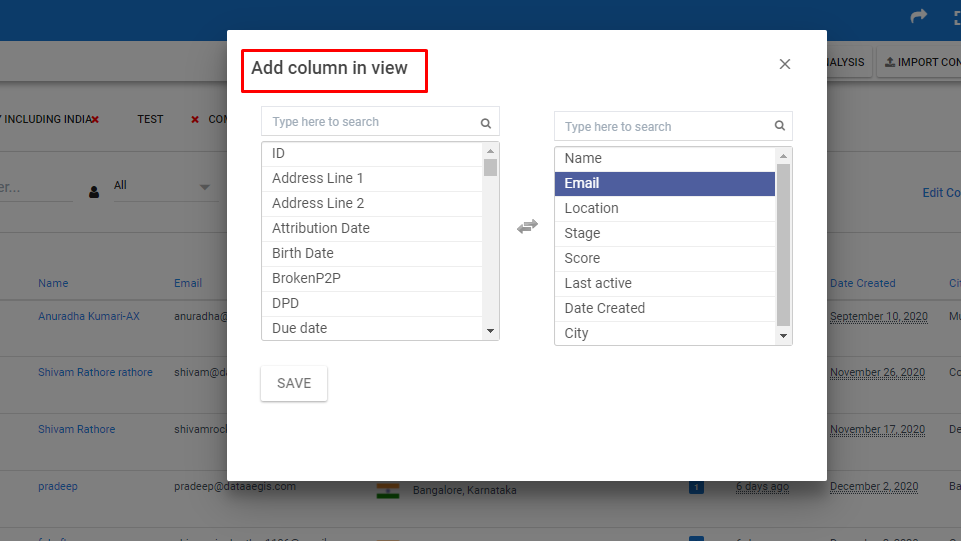
d) Click on the suitable columns based on the requirement in the left column of the table and click on the “save” button. Then you can see new columns have been added to the right column of the table and vice versa.
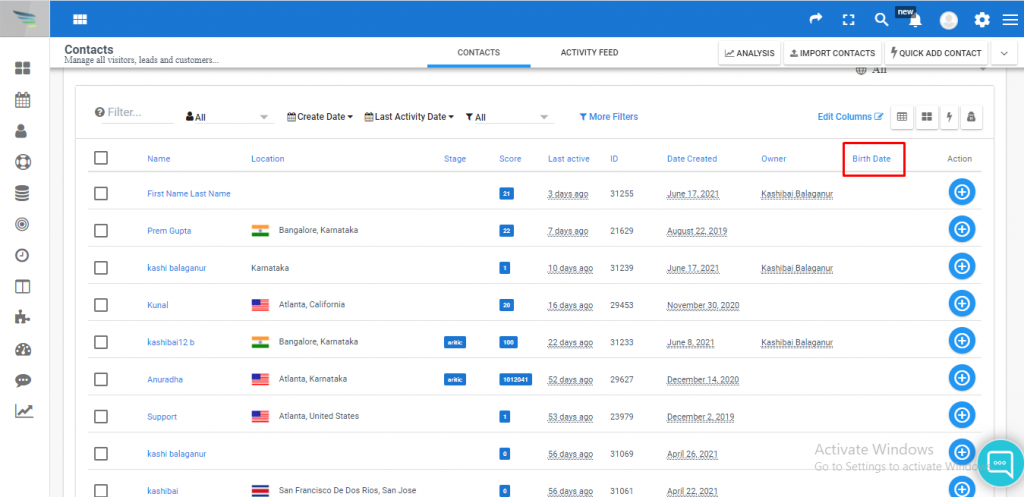
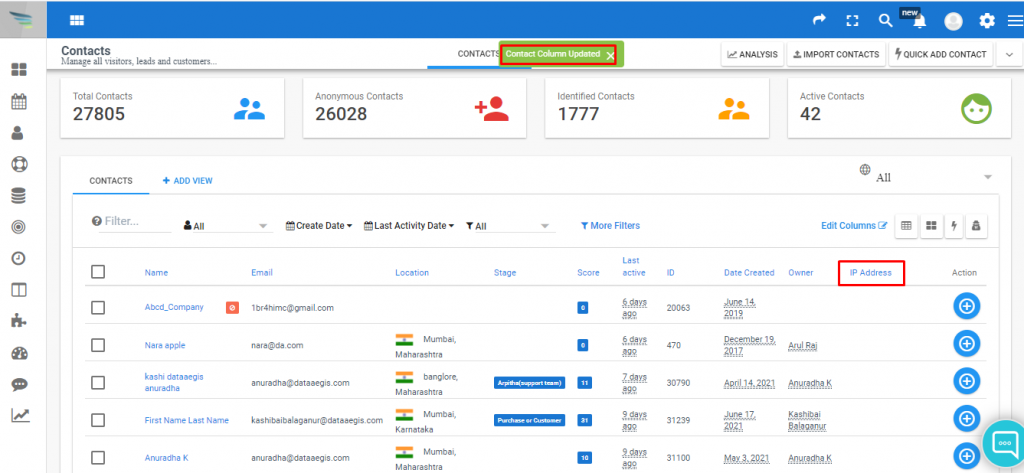
e) Here you can see the updated columns,
f) Here add a column “IP address” and click on save.
g) Below screenshot is after the Contact column is updated.
You can arrange the contact fields and sort out all the information to make the process smoother and increase productivity through the above steps.