The password is the primary security phase, consisting of secret characters and words, which are used to authenticate a digital system.
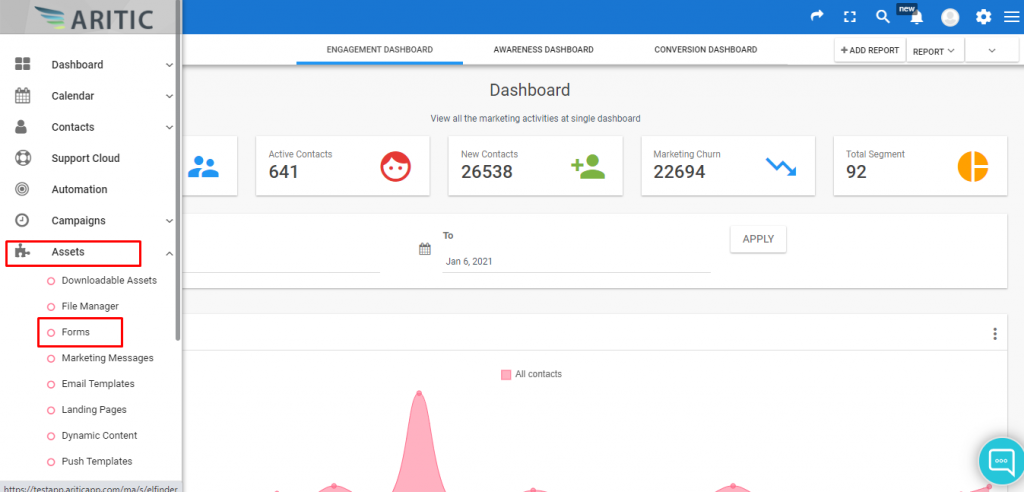
1. Go To the Aritic PinPoint dashboard choose the left menu and click on “Assets”, then click on “Forms” as shown below.
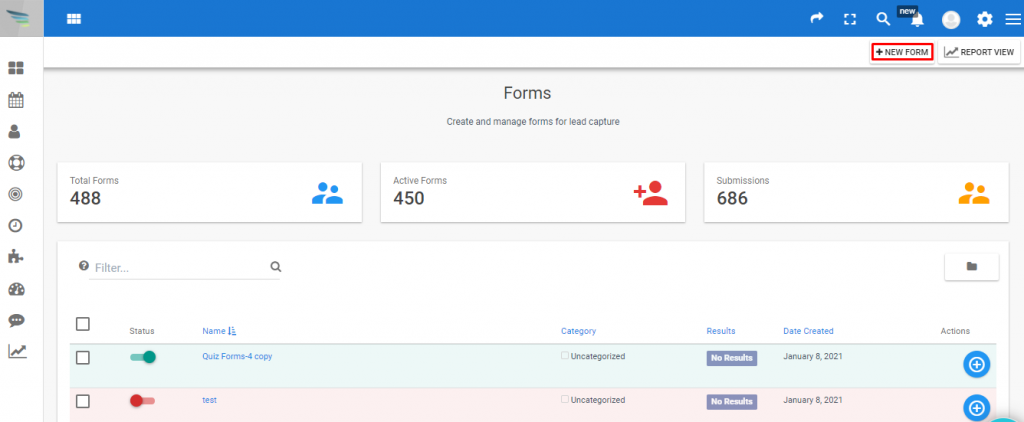
2. At the top right corner of the Forms page click on the ‘New Form’ button.
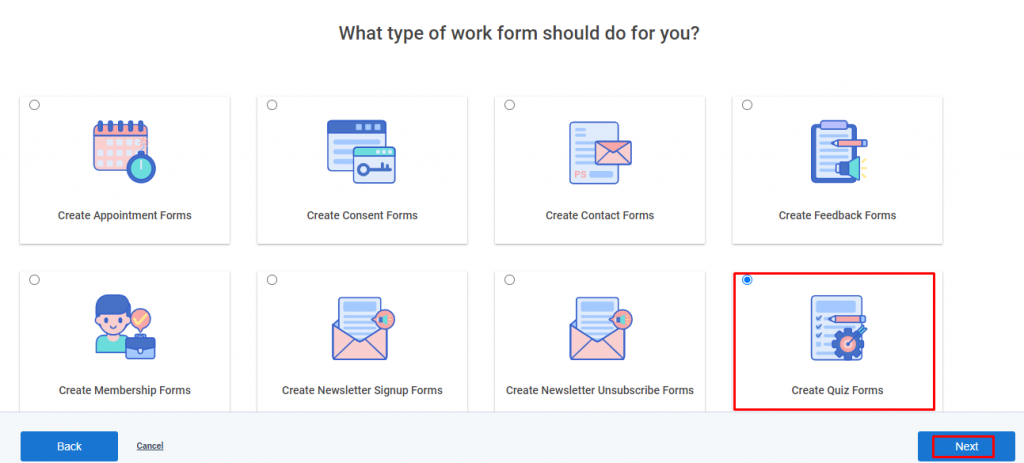
3. Click on ‘Create a Quiz Form’ as shown below and click on Next.
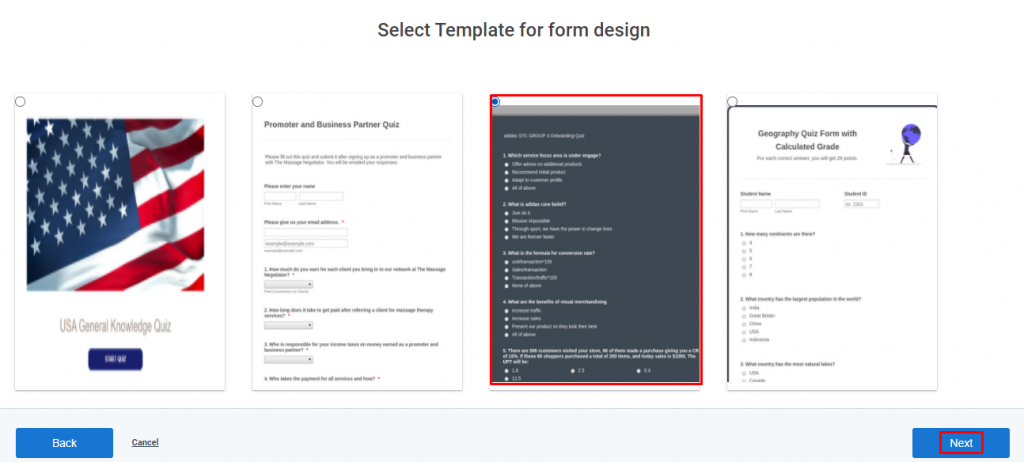
4. Now, you have to select a template and press the ‘Next’ button.
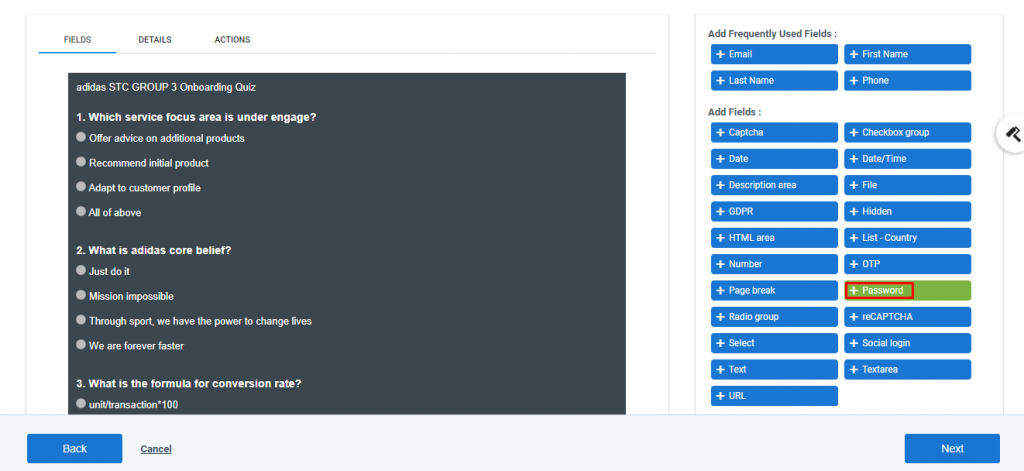
5. From the right side panel click on ‘Password’.
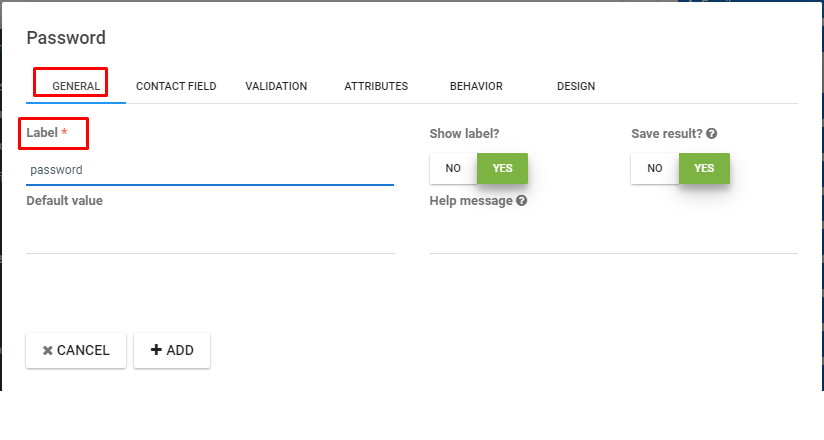
6. On the General Tab you need to add the label of the password field to provide the best accessibility practices.
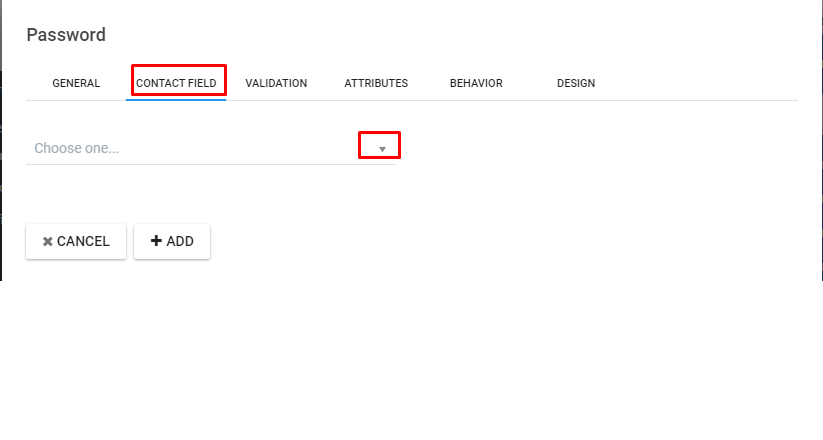
7. Select a contact field from the dropdown menu to get a password in the contact form.
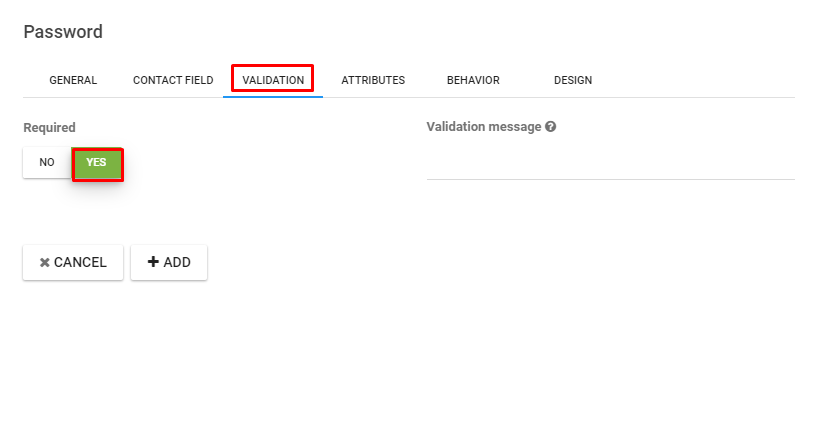
8. You need to enable the validation.
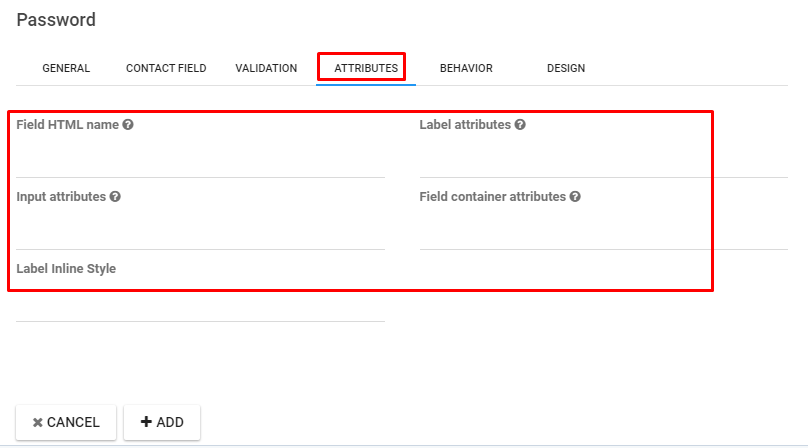
9. You have to fill up different pattern attributes inside the password field to set a restriction for completing the form.
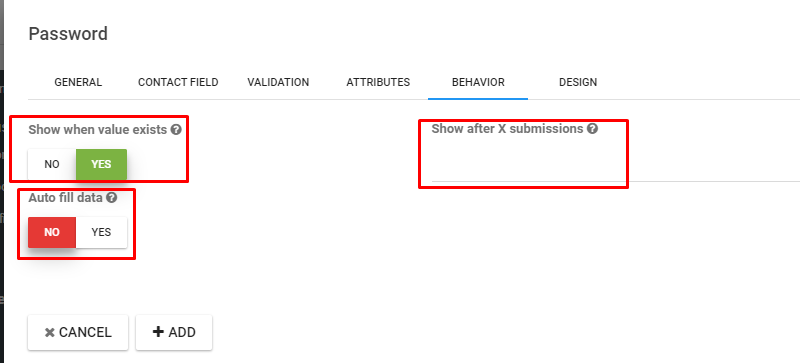
10. You can also fill the behavior tab if required.
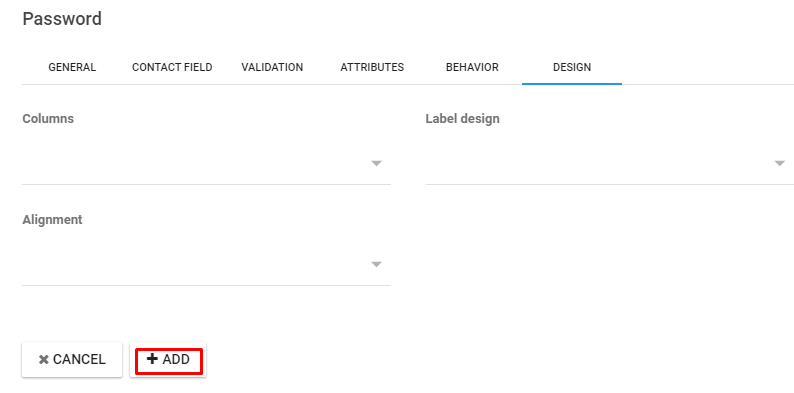
11. Don’t miss to select the suitable columns, alignment, and Label design from the drop-down menu of the design tab.
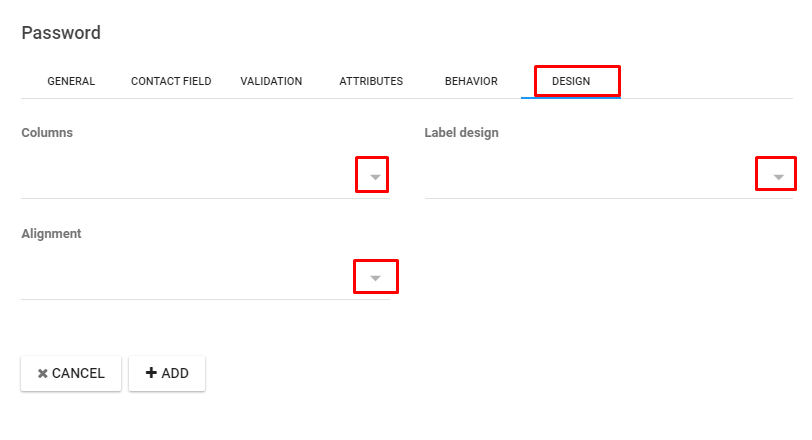
12. At the end, click on the ‘Add’ button.